Top Artikel
Training
19. Juni 2018
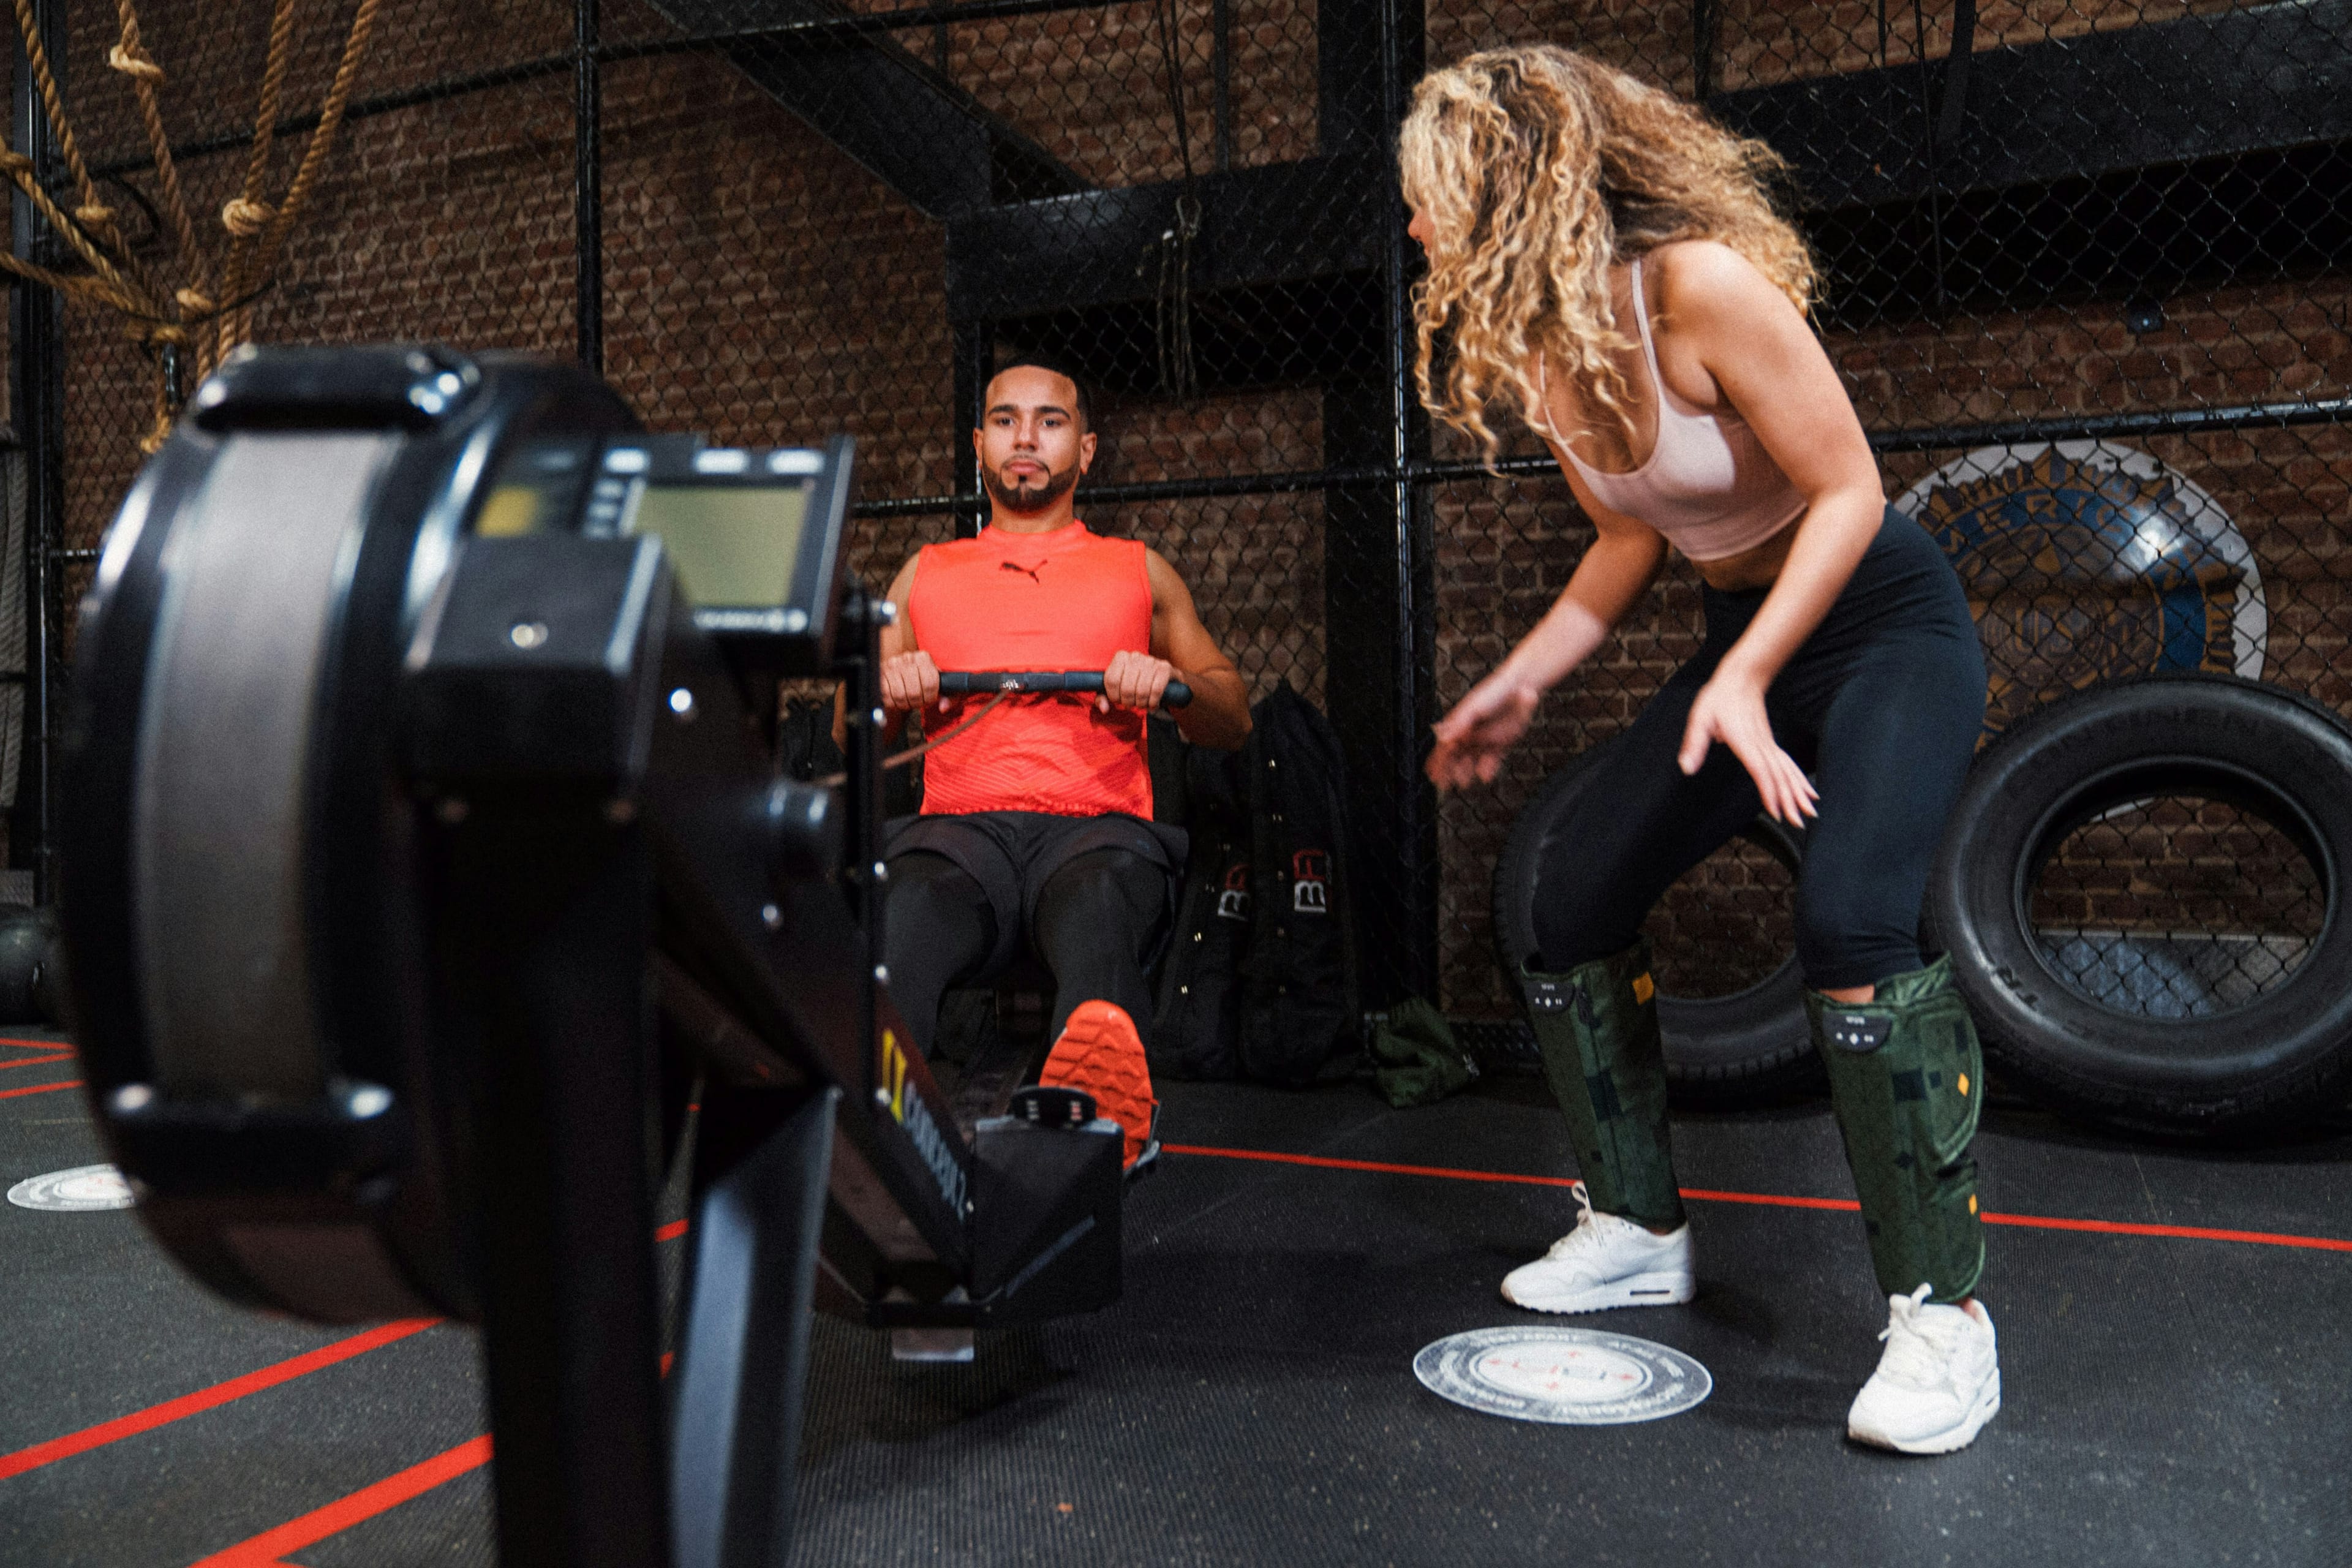
Rowing machine 101: Benefits, warm-ups & full-body workouts
It’s a cardio staple - the perfect endurance exercise that increases muscle capacity, melts fat and keeps your overall fitness levels afloat. The rowing machine is often overlooked for alternate stints on the treadmill, elliptical and bikes. Tragically overlooked, in our opinion. Because the rowing machine comes with a crazy list of benefits, including burning the most amount of calories in the least time with the lowest perceived rate of exertion. If you’ve been casting aside the rowing machine, it’s no surprise. Firstly, it’s often shoved into the corner without an obvious purpose like an awkward Christmas tree in January, which isn’t entirely motivating. And secondly, you probably don’t know how to use it. But it’s time to rectify that. Here are a few reasons you should be rowing - and exactly how to do it: Benefits of rowing machines Rowing machines provide a thorough full-body workout. In order to complete one full rowing stroke, you need to engage both your lower and upper body. Anyone who has used a rowing machine knows this is guaranteed to get you sweating - no shortcuts possible. You get the most for your minutes. Do it right and a rowing machine can be the perfect cardio for time-short fitness enthusiasts. Rowing places a huge demand on both the aerobic (continuous exercises which improve the body’s utilisation of oxygen) and anaerobic (muscle-targeting exercises in short bursts) system. This means your whole body has to work the entire time, raising your heart rate faster for a quicker, more efficient workout. Multiple muscles get to work. A whopping 80% of your muscle mass within nine major muscle groups are used when you hit the rower. Power comes from your legs as you push forward (known as ‘the catch’), core and arms on the way out, and all three on way back in. Rowing torches calories and sheds fat. The average person weighing 185 pounds (roughly around 13 stone or 83kg) can burn a sizzling 377 calories by rowing for 30 minutes vigorously, according to Harvard University. The numbers speak for themselves. Low-impact and non-weight-bearing. You row sitting down, with movements that are easy on weak joints compared to high-impact activities such as sports that include running and jumping. How to use a rowing machine properly Order, control and execution is extremely important when using a rowing machine, if you want optimum results. Here’s how to perform with perfect rowing form: Starting position Secure your feet onto the pads and tighten the straps so your feet don’t slide around. Bring your knees up, grabbing both handles with an overhand grip and pulling the handle with your as you slide the seat to the top of the machine. Keep your legs straight but with a slight bend - no locking knees. Lean slightly backwards and pull your hands to your chest, so the handle is below your chest. Keep your elbows pointing down against your sides. This is the starting and ending position to complete a full stroke. The catch Bring your arms out first, followed by your upper body. Keep your back straight, not slumped, with your shoulders back and abs engaged as you follow through. Slightly angle your body forward as you extend your arms back out, sliding your body forward on the seat and bending your legs. The drive To slide back, push your feet off first, straightening your legs with your arms extended, body leaning forward. Continue to push through your legs and move your upper body so you lean back. Pull the handles and bend your elbows so the handles touch the front of your chest and into starting position. Rowing machines for warming up Whatever workout you’re doing, rowing is a great warm-up. It gets the blood flowing before something like a run and is a great light-lifting exercise before doing weights. A great way to warm up is to create a rowing playlist of three songs. For the first song, row at a light, easy and steady pace. For the second and third song, stay at the same pace until the chorus, then give it your all until the chorus ends and repeat for every chorus. Guaranteed to pump you up before a workout, every time.
Training
05. April 2018
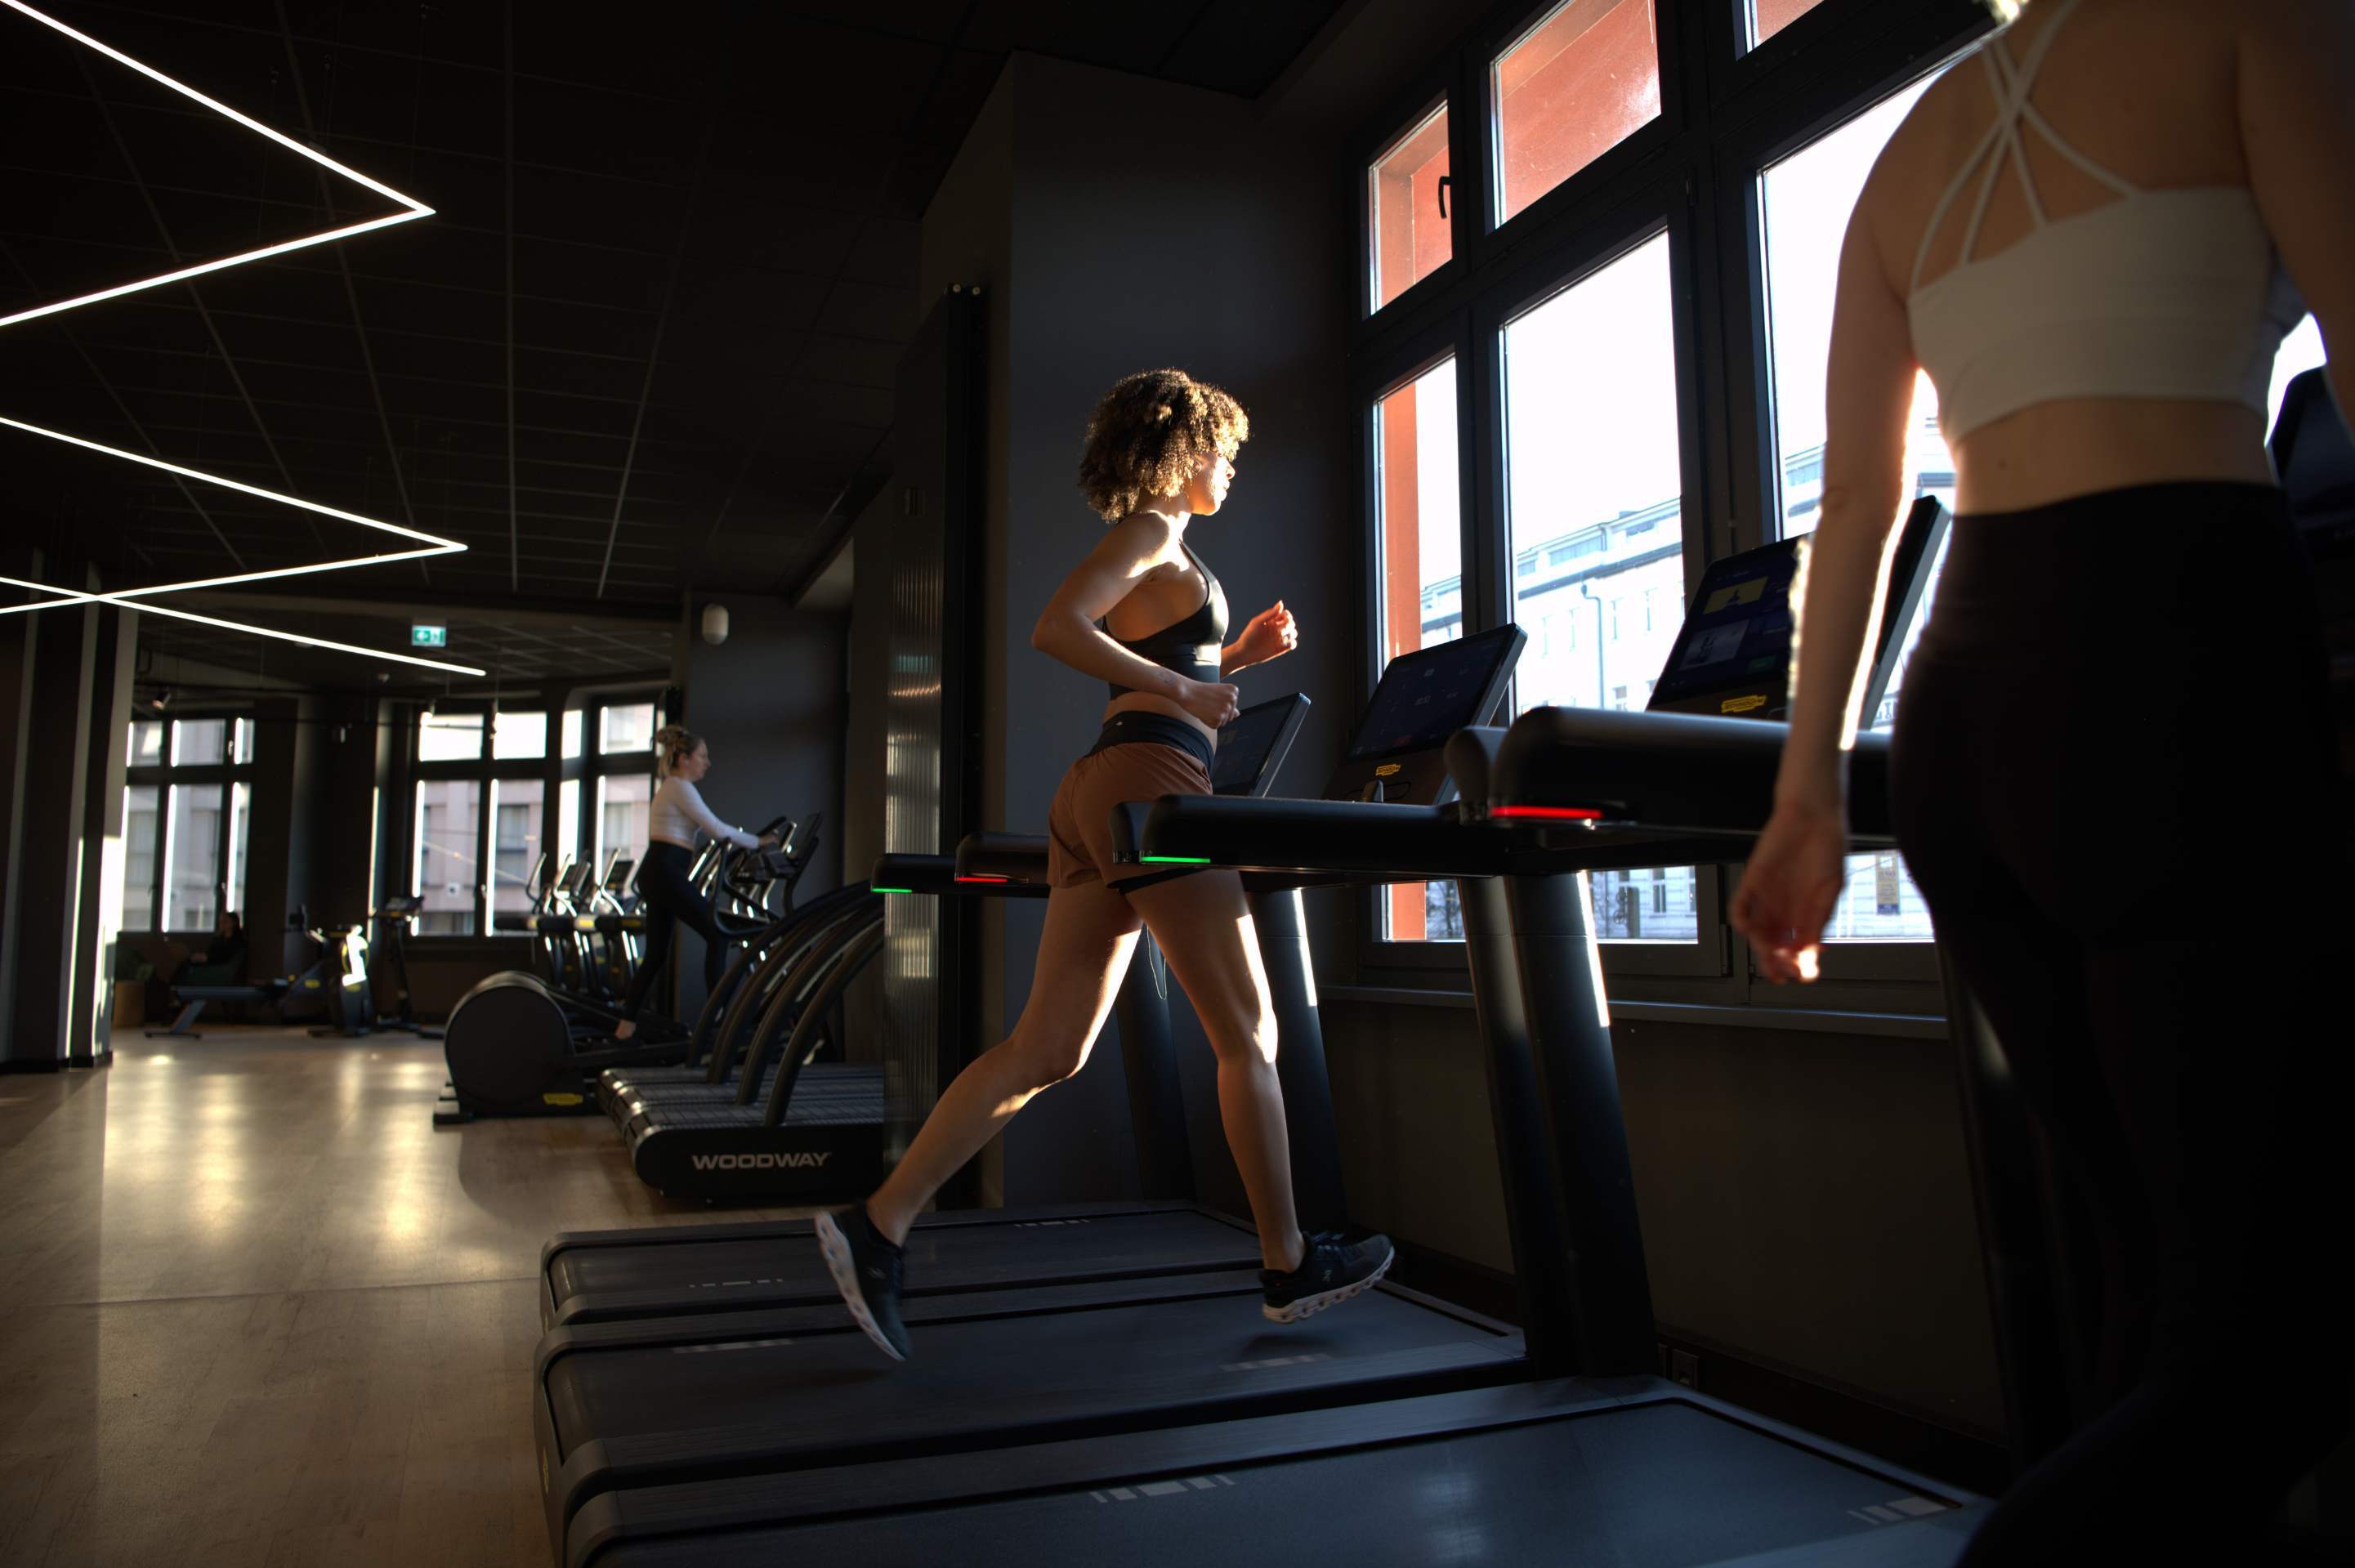
Four ways natural movement is more challenging than machine repetitions
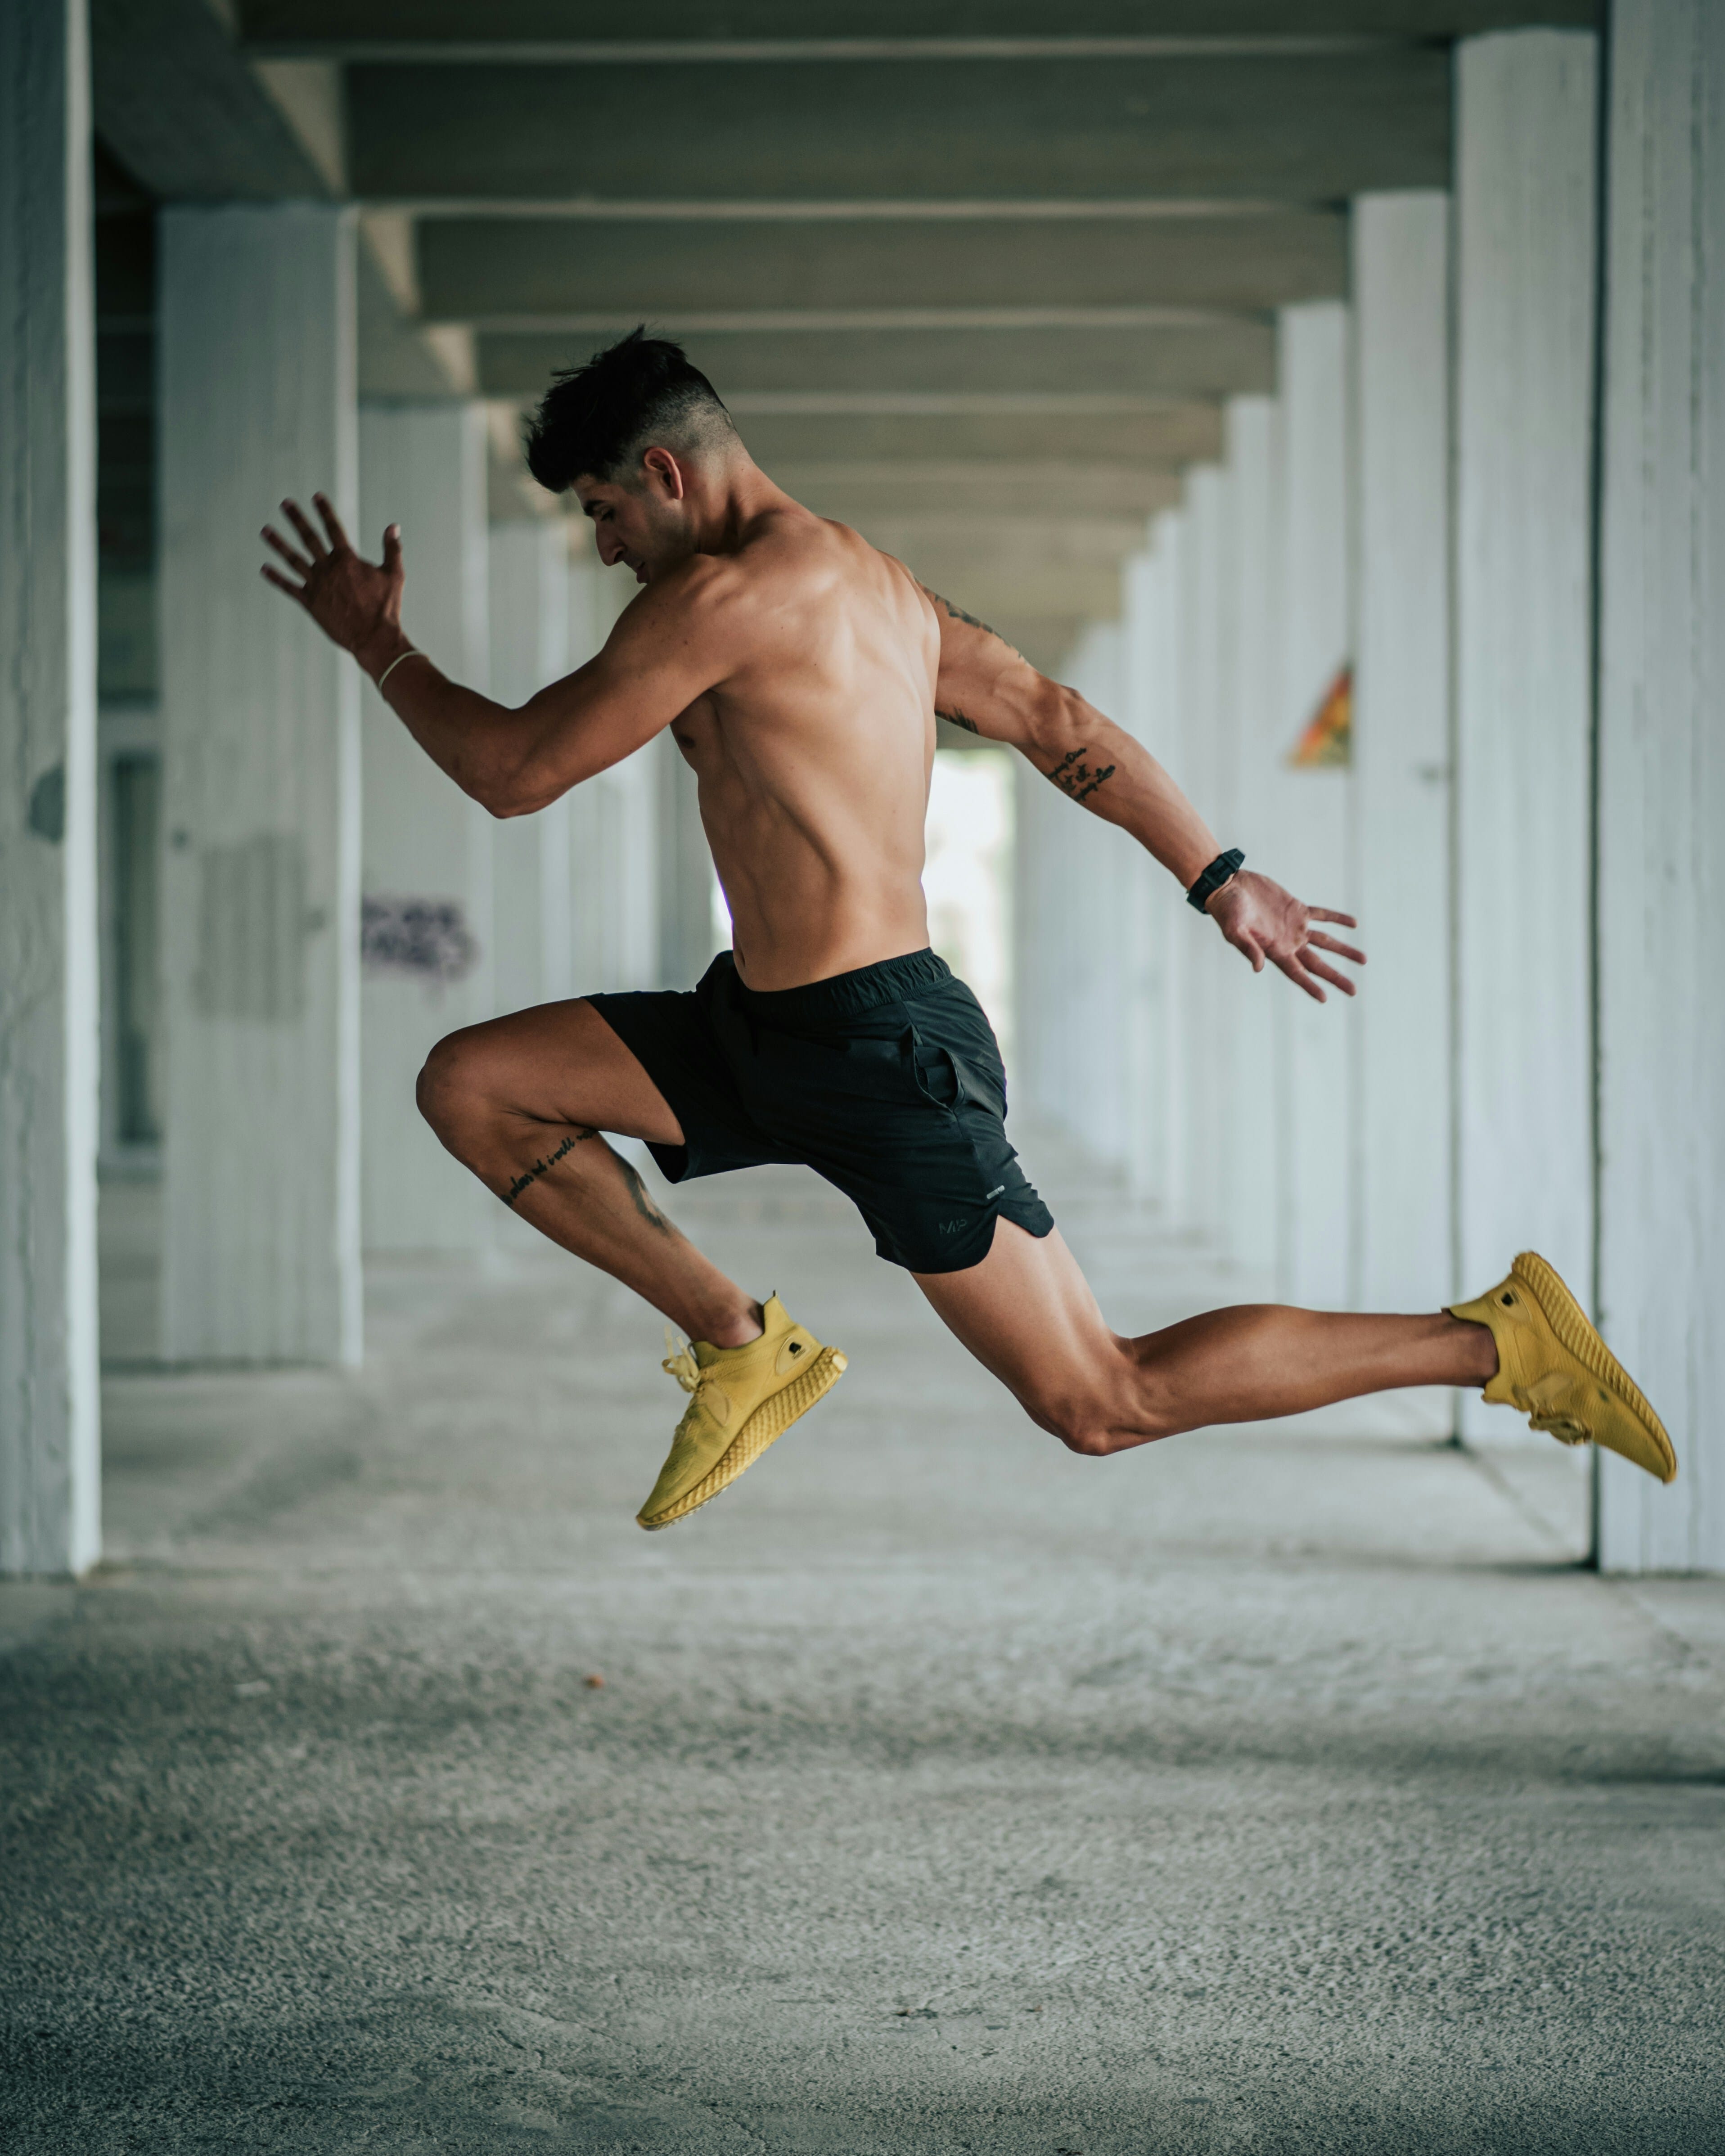
If you find yourself becoming comfortable in your current gym routine, mixing it up could be the best way to get the most out of your body’s capabilities. Machine repetitions are easy enough, but after a while these can become extremely tedious and you may feel as if you are just doing the same workout each time you go to a gym. But, if you choose to adopt a natural movement-orientated workout, each exercise session will feel different as you challenge yourself against the environment in front of you. Here’s the core reasons why you’ll get more out of natural movement workouts than machine repetitions. The ability to adapt Undertaking the same training routines in the same environments can cause limitations to your capability and injuries, due to overusing the same muscles and mindlessness during a workout. By varying your movement patterns to different spaces and environments, you can give you an added sense of freedom as you exercise, as you’re adapting to the ‘equipment’ (i.e. the trees, walls and structures) in front of you. Forcing yourself to make exercise routines with the environment in front of you is a key aspect of making natural movement workouts more challenging than your standard machine-based gym session. No set days With machine repetitions, you tend to choose a muscle set to work and focus your efforts into strengthening these areas. Pushing yourself through repetition after repetition on the same machine may help build that specific muscle up, but you aren’t giving your body the overall workout that it needs. With natural movements, there isn’t a leg day or an arm day - every day is an all-around body workout. Having to push your entire body through a workout can be testing at first, but the challenge will be something you thrive on as you become more accustomed to natural workouts. Solving unique problems When you’re undertaking natural movement exercises, the challenge should be to solve problems, arguably, only you have faced. Shifting your workouts to make you think more technically will increase the difficulty of your exercises - using the environment in unique and unusual ways that require a longer thought process will in return give you a more challenging workout. Going to regular gym and doing machine based repetition requires no ingenuity from the user, as the problem they face is straightforward and self-explanatory, making it an easy routine to complete. Task orientation The whole reason for going to the gym is to use the machinery to complete a repetition-based workout which will improve your body strength - it’s a specific task you have set out to complete. With natural movement, it’s completely different. Your daily movement patterns need to include actual challenges to ensure you’re getting exercise into your day. Covering various terrain and obstacles as part of your daily routine may seem a simple task, but to really get the most from your natural movements, you need to push your exploration and ingenuity to the limits to align your everyday tasks and exercise. For exercise enthusiasts who want to push themselves, opting for a natural movement-based exercise plan will give you a more rewarding challenge than going to a traditional gym. Not only will repetitions be obsolete, you’re also creating unique and technical problems for your body to solve, which will make your muscles work harder during your always-on workout.
Training
02. April 2018
The art of warming-up in cold weather.
Light warm up workout / barbell +strips + bodyweight / 8 min 4 exercises 2 minutes each exercise Equipment: barbell,, bodyweight Strength 4/10 Power 2/10 Endurance 4/10 Speed 2/10 Agility 4/10 Coordination 6/10 Balance 8/10 Flexibility 7/10 DESCRIPTION EVO training is about simplicity. If you're finding traditional training a little boring, over-complicated and un motivating, you'll love this simple high Intenisty program. No frills, no spills - just low tech, high effect! You will need a barbell, strips to hold the bar and your own weight. Organize your space so you have easy access to this equipment, without having to go too far. This warm-up is performed in 8 minutes. Each exercise will take you 2 minutes to complete. Try to improve your performance each time you come to EVO. Do it with your friends and other members, and don’t forget to post it on social media. For motivation, partner up with a buddy and compete against each other during and after the warm.up. Remember, EVO training is about skill, so focus on good movement technique, whilst moving as fast as possible. ROLL OUT WITH STEP 2 minutes, moving at a moderate speed; With the trapeze bar hanged, grab it on the extremities with your arms extended. The bar must be aligned with your chest. The bar must be at chest height. Take a long step forward and lunge deep, moving the arms straight overhead, torso upright. Return and switch legs. https://vimeo.com/194032368/2e8f1e3c26 HIP EXTENSION 2 minutes, moving at a moderate speed; Stand upright and hold the trapeze bar with arms straight. Engage the core and transfer weight to one leg. Hinge at the hips as you reach forward with the bar. Aim to keep the torso in line with the raised leg. Keep your arms extended, holding the bar and try to go further, extending your shoulders, trunk and leg. Alternate between legs and repeat https://vimeo.com/194317246/216e978ba0 SIDE REACH 2 minutes, moving at a moderate speed; Hang the bar slightly above your hip. Bent your trunk to the bar side leaning your forearm over the bar You’ll feel a slight stretch on the rib cage. After that, return to the initial Position https://vimeo.com/194337534/52d0d91144 HANGING TWIST 2 minutes, moving at a moderate speed; Lie on your back with knees bent. Place the right leg over the left thigh and allow it to hang in the bar. With the left foot, take a small step to the right, so the foot is in line with the right hip. Allow the left leg to slowly rotate to the right and back to the centre. Feel the movement (and stretch) in the left outer hip, but do not over-stretch. Repeat and switch sides. https://vimeo.com/194314622/630b291949
Training
06. September 2017
3 Tips How to Get Back to Your Training Routine
But habits take a while to stick. In fact, a study published by a health psychology research team at University College London found that it took more than two months for a new habit to become automatic - 66 days in total. So when we fall out of our exercise loop, it can take a while to get back to the training routine. Fortunately, we’ve got some habit-developing strategies to gather momentum with your workouts again. Give these a go and start surprising people as your body slowly but surely changes shape. 3 TIPS HOW TO GET BACK TO YOUR TRAINING ROUTINE 1. Focus on one goal at a time Kicking off an exercise schedule doesn't have to be complicated - building habits is not an all-or-nothing process. Don’t sign up to five workout classes a week. Don't tell your buddy you’ll meet him or her every morning at 6am for a three mile run and don't promise yourself you’ll cook every meal from scratch. Changing multiple habits at the same time is impossible to maintain. Your mind will be all over the place and you’ll exhaust your willpower. Instead, set the bar low with one small change - like exercising for 30 minutes every day - and stick to it. It’ll soon become routine. 2. Create a habit loop To break a negative cycle and get back into a healthy routine, you must first understand what’s causing it all in the first place. There are the three basic habit components laid out by Charles Duhigg, author of The Power of Habit. He calls it ‘the habit loop’: Routine. This is the behaviour you repeat day-to-day - it can be mental, physical or emotional. Duhigg’s example: eating a cookie from the cafeteria at 3pm everyday. Reward. The satisfying result you get as a result of your routine. Duhigg asked himself what he got from this cookie. Was it the sugar rush? Socialising? Change of scenery? Cue. Whatever it is that triggers your brain to go into habit mode in the first place. In the cookie scenario - was it hunger? Boredom? Low blood sugar? In Duhigg’s case, he discovered what he really needed was a bit of interaction to break up the work day - not the cookie. Instead of going to the cafeteria, he’d chat with colleagues whenever his cue (boredom) kicked in and lost weight as a result. Find out what negative routines you’ve made into habits and replace them with positive ones. In Duhigg’s words: “Once you diagnose the cue, the routine and reward - you gain power over it”. 3. Find the right motivator What works for one person might not work for you. If that blast of sparkling, feel-good endorphins aren’t enough to get you back to the training routine, try technology. Fitness apps provide a visual record of your victories, giving you an instant reward that you may not see in the mirror straight away. The motivating features of apps such as Runkeeper are designed to help you stick to a training routine - it’ll even send the reminders to get out and run so you don’t break the chain. The data-driven side of workout gizmos are great, but these apps also have another behaviour-forming trick - social competitiveness. When you share a workout, your friends can see it and give you a supportive well done, even if it’s just in the form of a ‘like’. That reward Duhigg was talking about? There are few more powerful than that.

Training
04. August 2017
Top 5 Exercises To Improve Power And Reaction For Volleyball
Introduction Beach volleyball is a team sport where two teams of two players play against each other – in bare feet - on a sand court. Volleyball requires a good level of fitness to play. If you play recreationally or would like to start, there are several skills you can master to improve your game. Mastery of movement skills If you have never watched volleyball, it requires mastery of many of the body’s natural movements. Players need to be able to react at speed and explosively from the ground. The squatting, lunging, pushing, bending, rotation and locomotion (on an unstable surface) involved, all require skill to perform without getting injured during play. These can be learned following the EVO7 training philosophy. In addition, other positive outcomes of practicing these skills as part of your training will see improved co-ordination, balance, speed, strength, agility and power. Power=Performance Power production is important for volleyball. Why? Because power (a combination of speed and strength) is required for quick changes in direction, varieties of jumping and pushing actions. Three types of power are a pre-requisite for volleyball. 1. Take off power to project the body vertically to either serve, block or pass 2. Reactive power to generate force to jump immediately after landing, and to change direction quickly whilst in play 3. Power endurance to maintain a high output of power over a long period of time, as the repetition of some movements (serving, passing and jumping) will be performed hundreds of times in one game Top 5 power exercises for volleyball Here are our top 5 exercises that will ensure improved performance not just in playing volleyball, but in many other areas of everyday life. You can also view these exercises and many more in the Exercise Library section of the EVO app. 1. SQUAT JUMP Start the movement by bending at the hips and dropping into a half squat position, taking the arms backwards. Rapidly drive the arms forwards and upwards as you explosively jump up. Land under control with knees bent enough to absorb the force. Repeat for time or reps. 2. MED BALL PUSH SLAM Facing the wall, engage the core as you explosively slam the med ball at chest height to the wall. For greater explosiveness, perform a half squat and jump out as you slam the med ball. Repeat for time or reps. 3. SIDE LUNGE Breathe in as you lunge to the left/right, moving your hips back and dropping into a squat position. Hold position and balance before breathing out and explosively returning to the start. Keep back straight, head in line with spine and core engaged. Repeat for time or reps, switch sides. 4. MED BALL TWIST AND REACH Hold medicine ball at chest height. Breathe out, rotate hip left/right and pivot on the opposite foot as you rotate and drive the ball diagonally overhead. Breathe in returning to the start position. Keep core and glutes engaged. Repeat for time or reps, switch sides. 5. SUSPENDED LUNGE WITH HOP Start in a lunge position with arms out straight, and back foot resting on the trapeze bar. Maintaining balance and good alignment, take the arms back and drive them forwards, hopping on the front foot. Return under control, and repeat for time or reps, switch sides. Adrian Deverell Personal Trainer, EVO Berggasse
Training
15. Mai 2017
Tutorial: Butt Kicks
WHAT Butt Kicks are a great functional exercise that can be used as part of a warm up, cool down or active recovery between sets. More than just a pulse raiser, they will also benefit your running technique. HOW Run on the spot and pull the heel to the butt. Aim to keep the hamstrings as relaxed as possible to maximize efficiency. Maintain a quick tempo (180bpm) using a metronome for guidance, if necessary. WHY When performed correctly with rhythm (180bpm) the butt kicks exercise will quickly build running-specific hamstring pull technique. Proper rhythm will allow for optimum elasticity in the foot/ankle. View other tutorials: TRX chest press Roll out with step Deep squat The barbell clean Pull up Kinesis lunge to chest press
Training
03. März 2017
Workout of the Month: 8 Jumping Exercises
Jump training, also known as plyometric training, is an effective way to build explosive power, stability and coordination. Not only does this type of jumping training improve sports performance (e.g. running, basketball, tennis, free running, skiing, to name a few), it is also beneficial for general fitness – building stronger legs, adding intensity to workouts, and burning more calories. Because jumping is a skill, it's important to learn the basic technique of jumping and landing, before adding intensity and volume. If you are new to this type of training, speak to an EVO Personal trainer before trying the following workout. This circuit-style workout consists of 8 exercises performed back to back – but don't be fooled by its simplicity! Although each exercise involves a jumping movement, you will feel the whole body engaging. EQUIPMENT AND SET UP Interval timer or stopwatch (set the work:rest intervals as outlined below) Plyo box Pull up bar – if you cannot perform a pull up, use a step for assistance 8 JUMPING EXERCISES Perform each of the following exercises in order, choosing one of the following levels that suits your ability and current fitness: EASY – 1 round, moderate pace, 20s work:20s rest MODERATE – 2 rounds, moderate pace, 20s work:20s rest HARD – 3 rounds, fast pace, 20s work:10s rest JUMPING LUNGE Keep the arms overhead and aim for quick jumps. Don't drop too deep. JUMPING JACKS Take the arms as high as possible and find the rhythm. BURPEE Drop quickly to the floor and explode out off the push up into a jump. BOX JUMP Throw the arms up as you jump onto the box, landing with two feet. Step back down and repeat. JUMP PULL UP Jump up to the bar and quickly perform a pull up. LATERAL JUMPS Keeping feet together, jump quickly from left to right. Use the arms for balance. INVERTED JUMPS From a push up position, jump the legs side to side aiming to lift the hips over the shoulders. BUTT KICKER Run on the spot bringing each heel to the butt. TIPS This workout requires just a small amount of space, so is ideal when your favourite machines are in use Feel free to change the order or even substitute with some of your favourite jump-based exercises Partner up with a buddy and compete against each other for rep Don't forget to share your workout performance with us via Facebook and Instagram!
Training
12. Dezember 2016
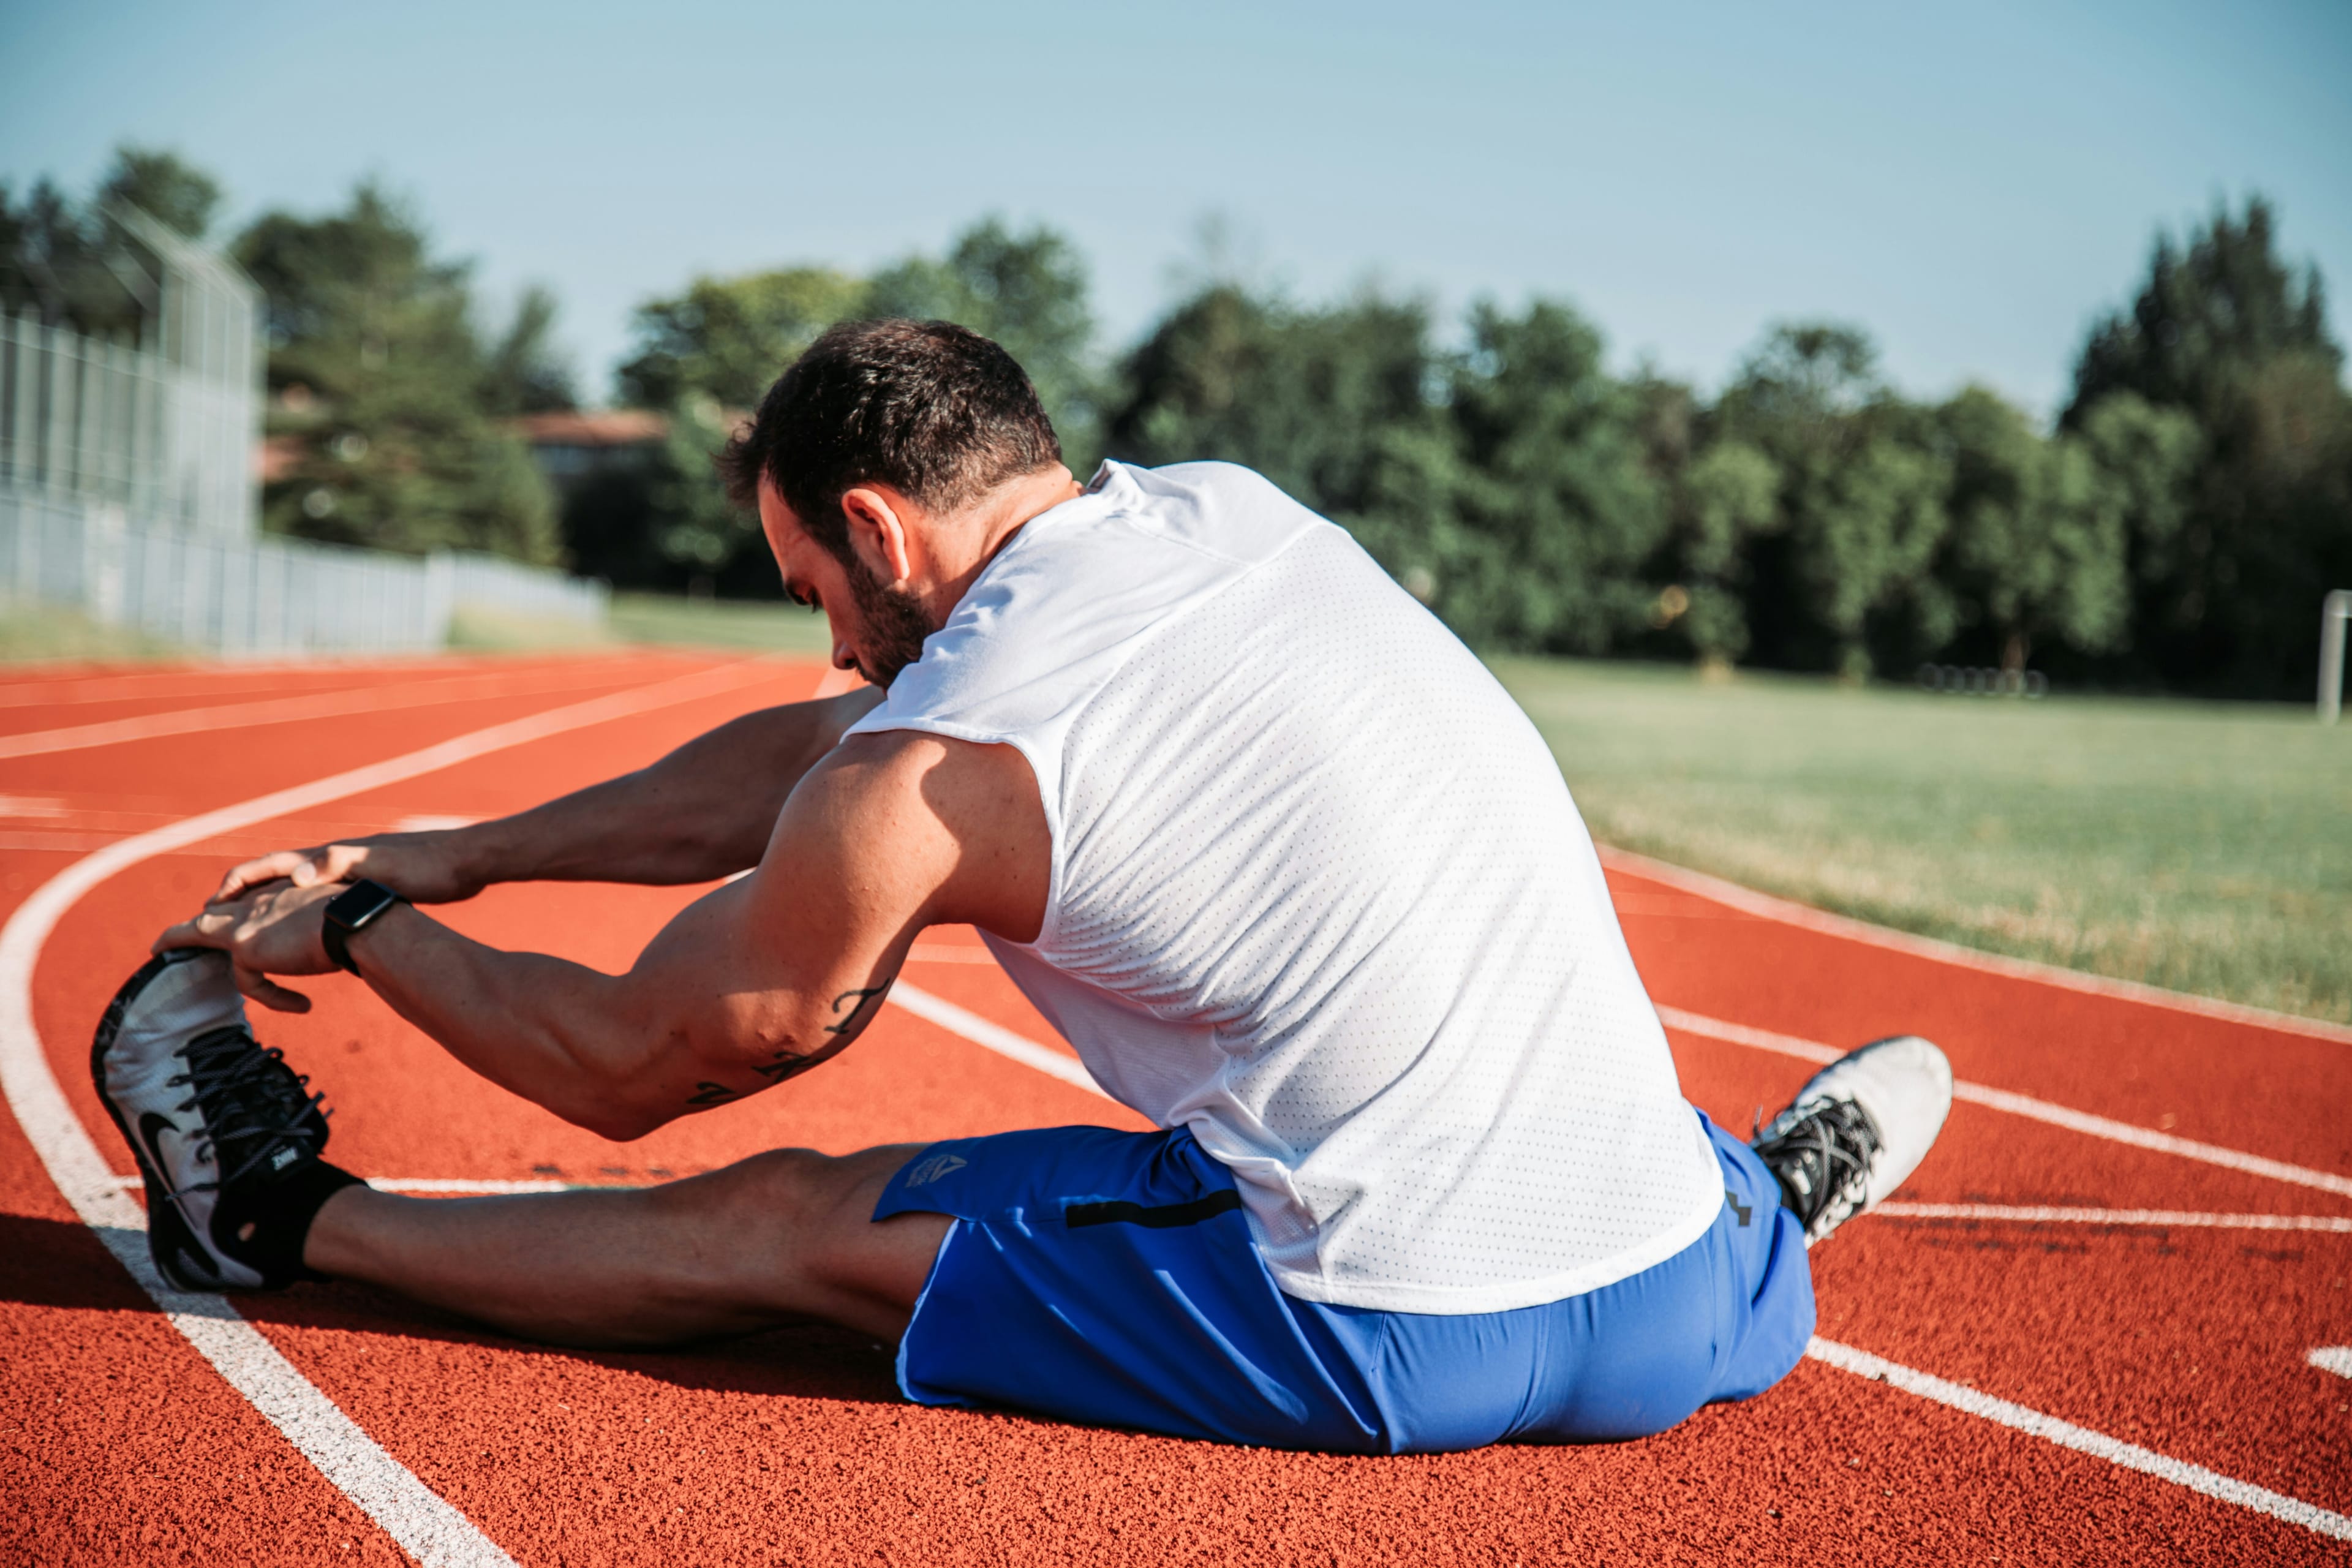
How To Avoid Muscle Cramps During Exercise
What is a muscle cramp? A muscle cramp is a sudden, involuntary and sustained contraction of one or more muscles. There is often a visible and palpable hardening of the muscles. Muscle cramps may last for a few seconds to several minutes, and can recur many times before subsiding. Why does cramping occur? Cramping occurs when the mechanisms that control muscle contraction and relaxation become impaired. For efficient muscle function, there are 3 key physiological requirements that need to be met: optimal cellular environment, well-conditioned muscles, and sufficient recovery. What are the best strategies to reduce the risk of cramping? Firstly, maintaining an optimal cellular environment is the most important strategy, and is dependent on balanced levels of water, glucose and electrolytes inside the cells. When glucose and electrolytes become too low, the cells dump water to rebalance the environment. When too much water is drunk, the cells also dump excess water, along with important electrolytes. This electrolyte and glucose imbalance can result in muscle cramps. The best strategy is to reduce/avoid tea, coffee, dietary drinks (especially before exercise), and consume a purpose designed sports drink, such as Gatorade – which will provide optimal amounts of water, glucose and electrolytes. Secondly, cramp is less likely to occur in muscles that are well-conditioned and supple. When you work out, ensure that you are working through a full range of motion where possible, and be sure to spend time on flexibility at the beginning and end of your workout. For best results, combine foam rolling and dynamic stretching – to boost your circulation and reduce the risk of cramping. The final strategy is to ensure you make time for recovery post-exercise. Muscles need adequate rest between workouts, and during these times, hormones such as adrenaline and cortisol can re-balance. Proper rest and recovery will ensure that your cellular environment remains optimised for the next workout. What is EVO’s position on avoiding muscle cramps? At EVO, our focus is on creating better understanding of the body for optimal physiological and physical health. Strategies to minimize the risk of muscle cramps should begin with a focus on attaining optimal cellular health through adequate consumption of a balanced sports drink before, during and after exercise. Pre- and post-workout strategies should also include proper flexibility training, particularly the use of foam rollers. Finally, optimal rest between bouts of exercise will ensure longer-term avoidance of muscle cramps.
Training
08. September 2016
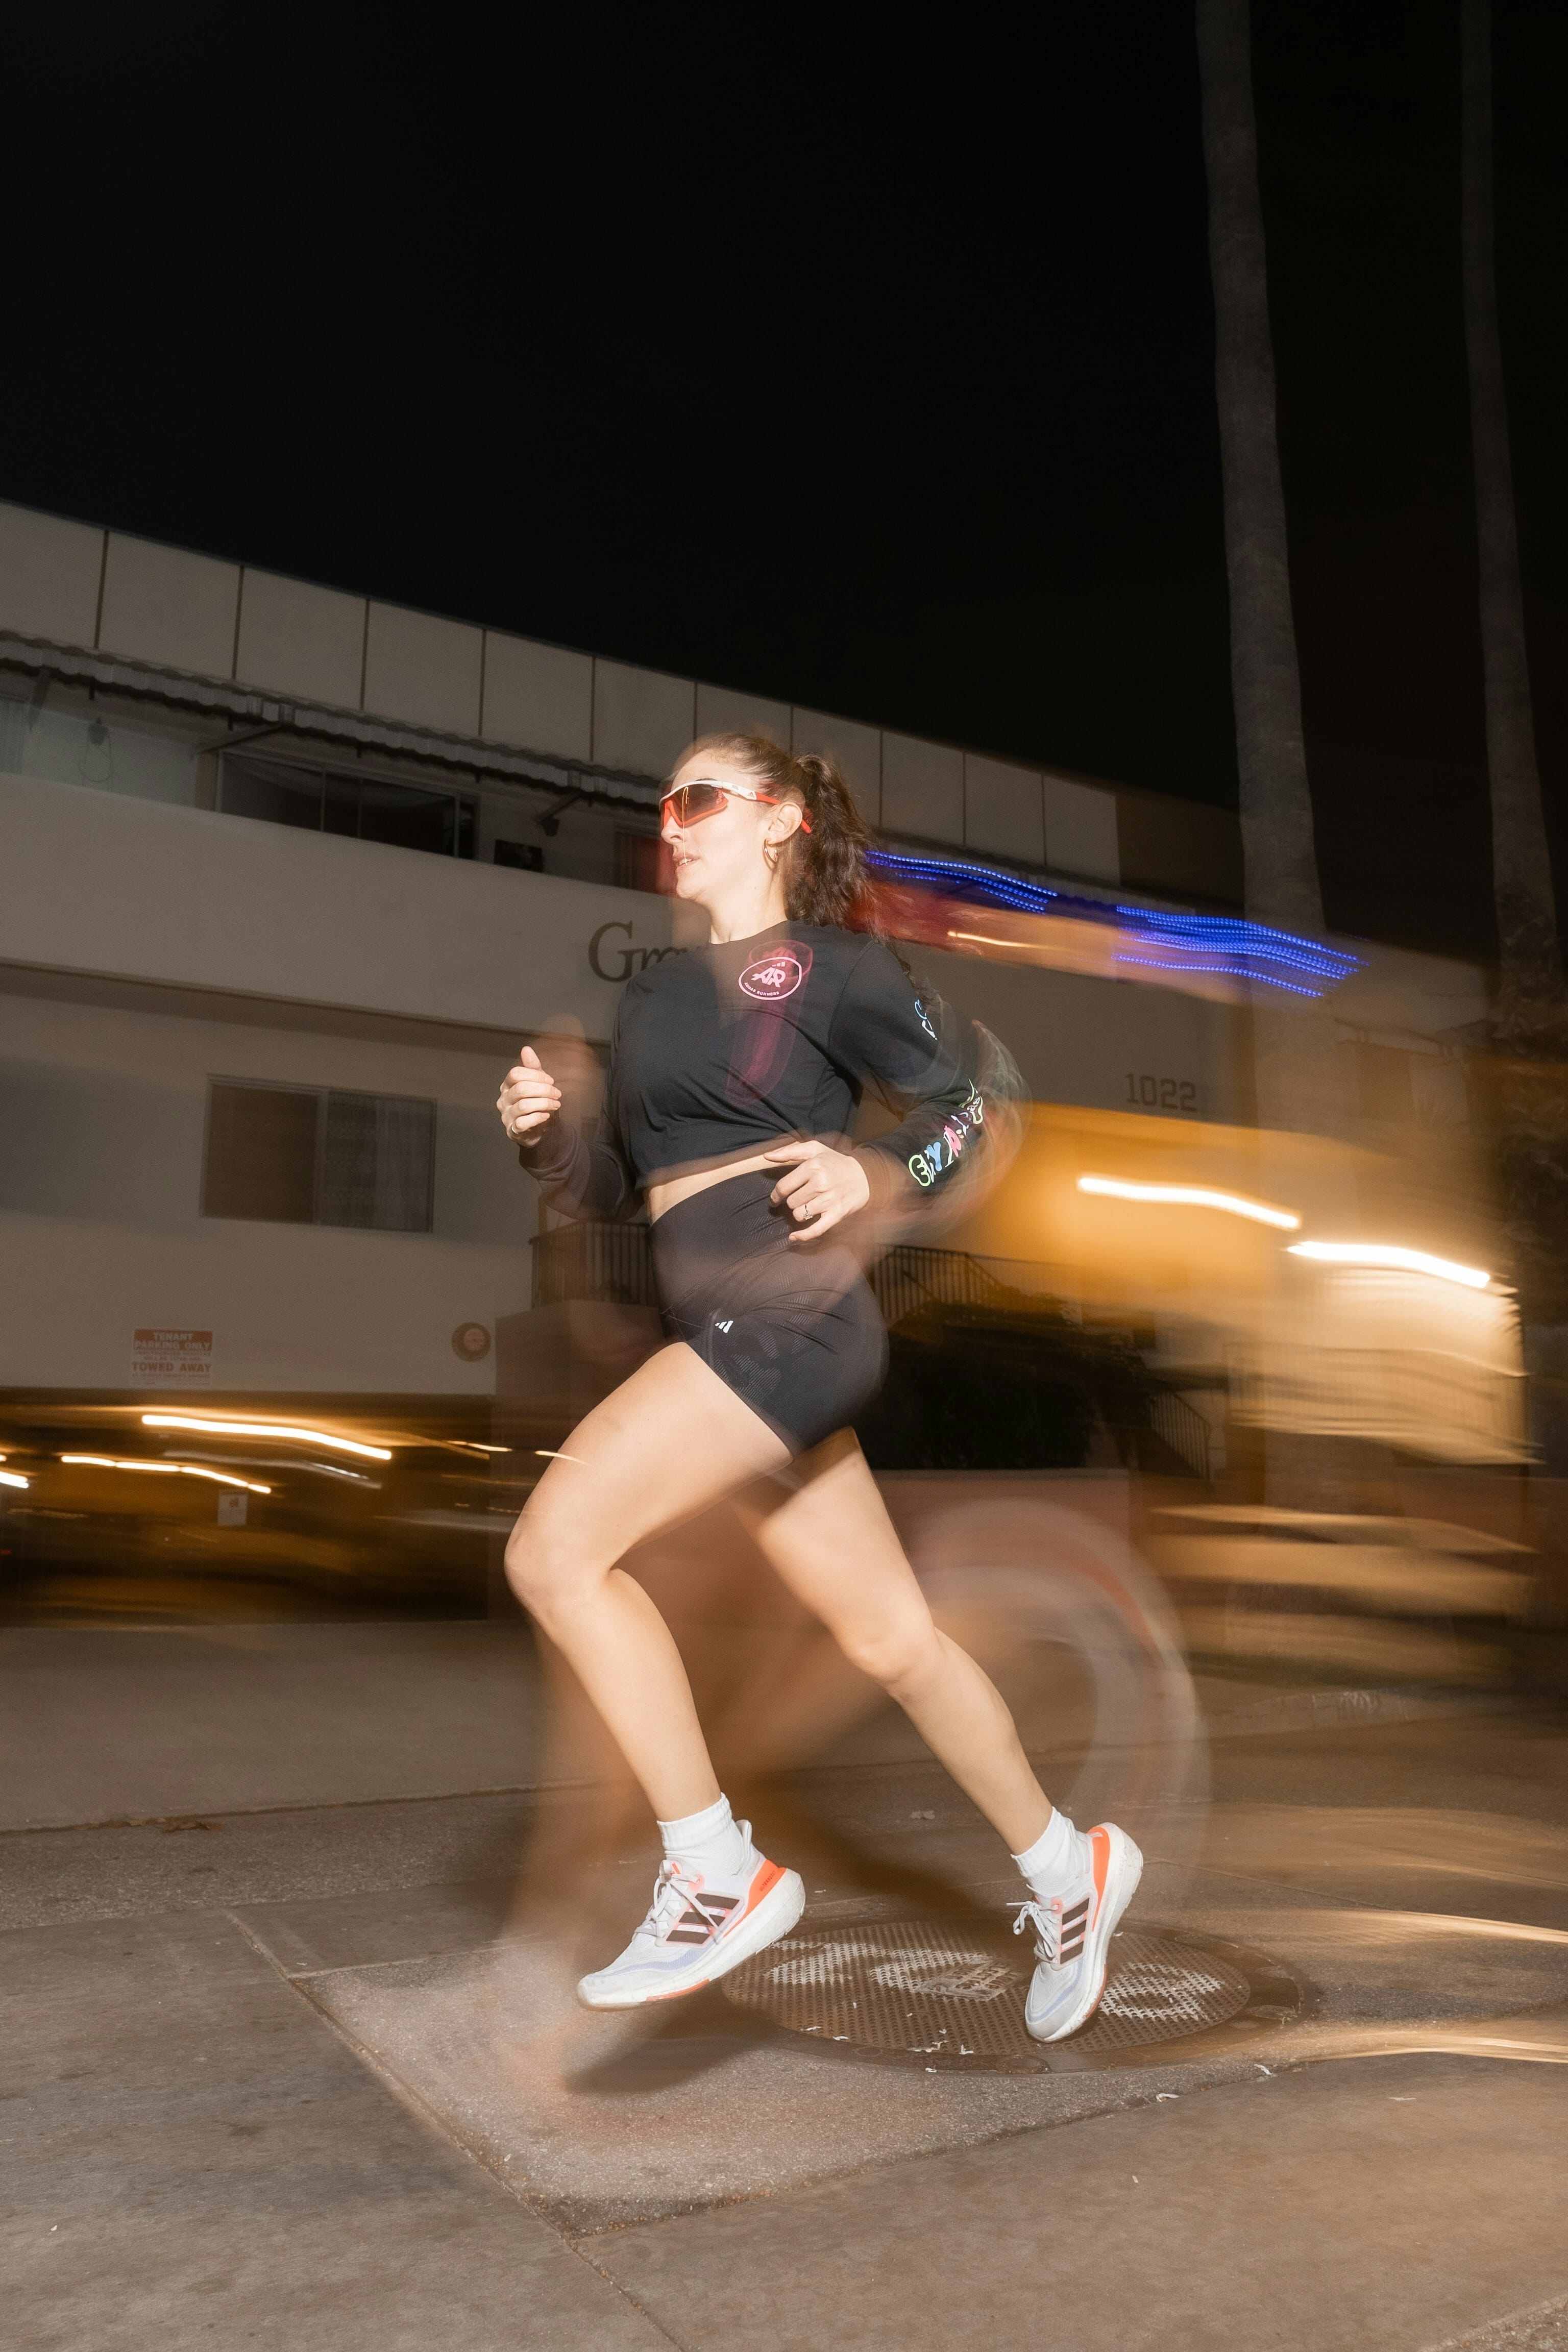
How Can I Improve My Running?
Do I need to be really fit to run? In order to answer this question, it’s important to understand that running is a skill that we learned as young children, but have since forgotten as adults. Therefore, when trying to improve running, it’s important to first teach the skills of good posture, optimum cadence, and adequate relaxation. As these skills improve, muscular strength, endurance and cardiovascular fitness will also improve. Interestingly, many fit individuals will still have to improve their cardiovascular fitness in order to run with good technique. So what do I need to focus on first? As with almost every upright movement, running begins from the ground up. This means that having strong, mobile and elastic feet and ankles is the most important asset to improving running technique. Unfortunately, modern footwear and prolonged seated postures has largely resulted in weak, immobile and inelastic feet. Therefore, it’s important to restore function to the feet/ankles first – then develop good posture, cadence and relaxation. With that in mind, is footwear important? Absolutely! The best footwear is that which closely resembles the structure and function of a healthy foot – flexible with a wide toe-box, has good ground-feel (thin sole) and is flat (no heel) – these are called barefoot shoes. However, if your feet are not strong, elastic and mobile, and you have poor running technique - you can increase your risk of injury by running in a barefoot shoe. For the majority of individuals who want to improve their running, use of a minimal shoe (some cushioning but not much) will be a good starting point, alongside technique coaching. What about going barefoot – will that improve my running? In modern society, running barefoot is not always viable (or socially acceptable), due to adverse environmental conditions. Therefore, use of a suitable barefoot or minimal shoe will offer a safer alternative. However, the value of barefoot conditioning cannot be overstated, and for this reason, all of our running technique specialists will use barefoot training as part of a running technique program. As a general tip, the more time you spend standing and moving in bare feet, the stronger your feet will become! What is EVO’s position? At EVO, we consider running to be a fundamental movement skill that all humans should master. As small children, we ran skillfully. As adults, many have lost this ability. However, through proper barefoot conditioning and technique training, we can restore optimal structure and function from the ground up, which can positively impact not only running, but all movement. If you are serious about improving your running technique, contact an EVO running technique specialist, who will guide you through foot/ankle exercises, instruct you in proper running technique, and provide a progressive plan of improvement.
Training
11. August 2016
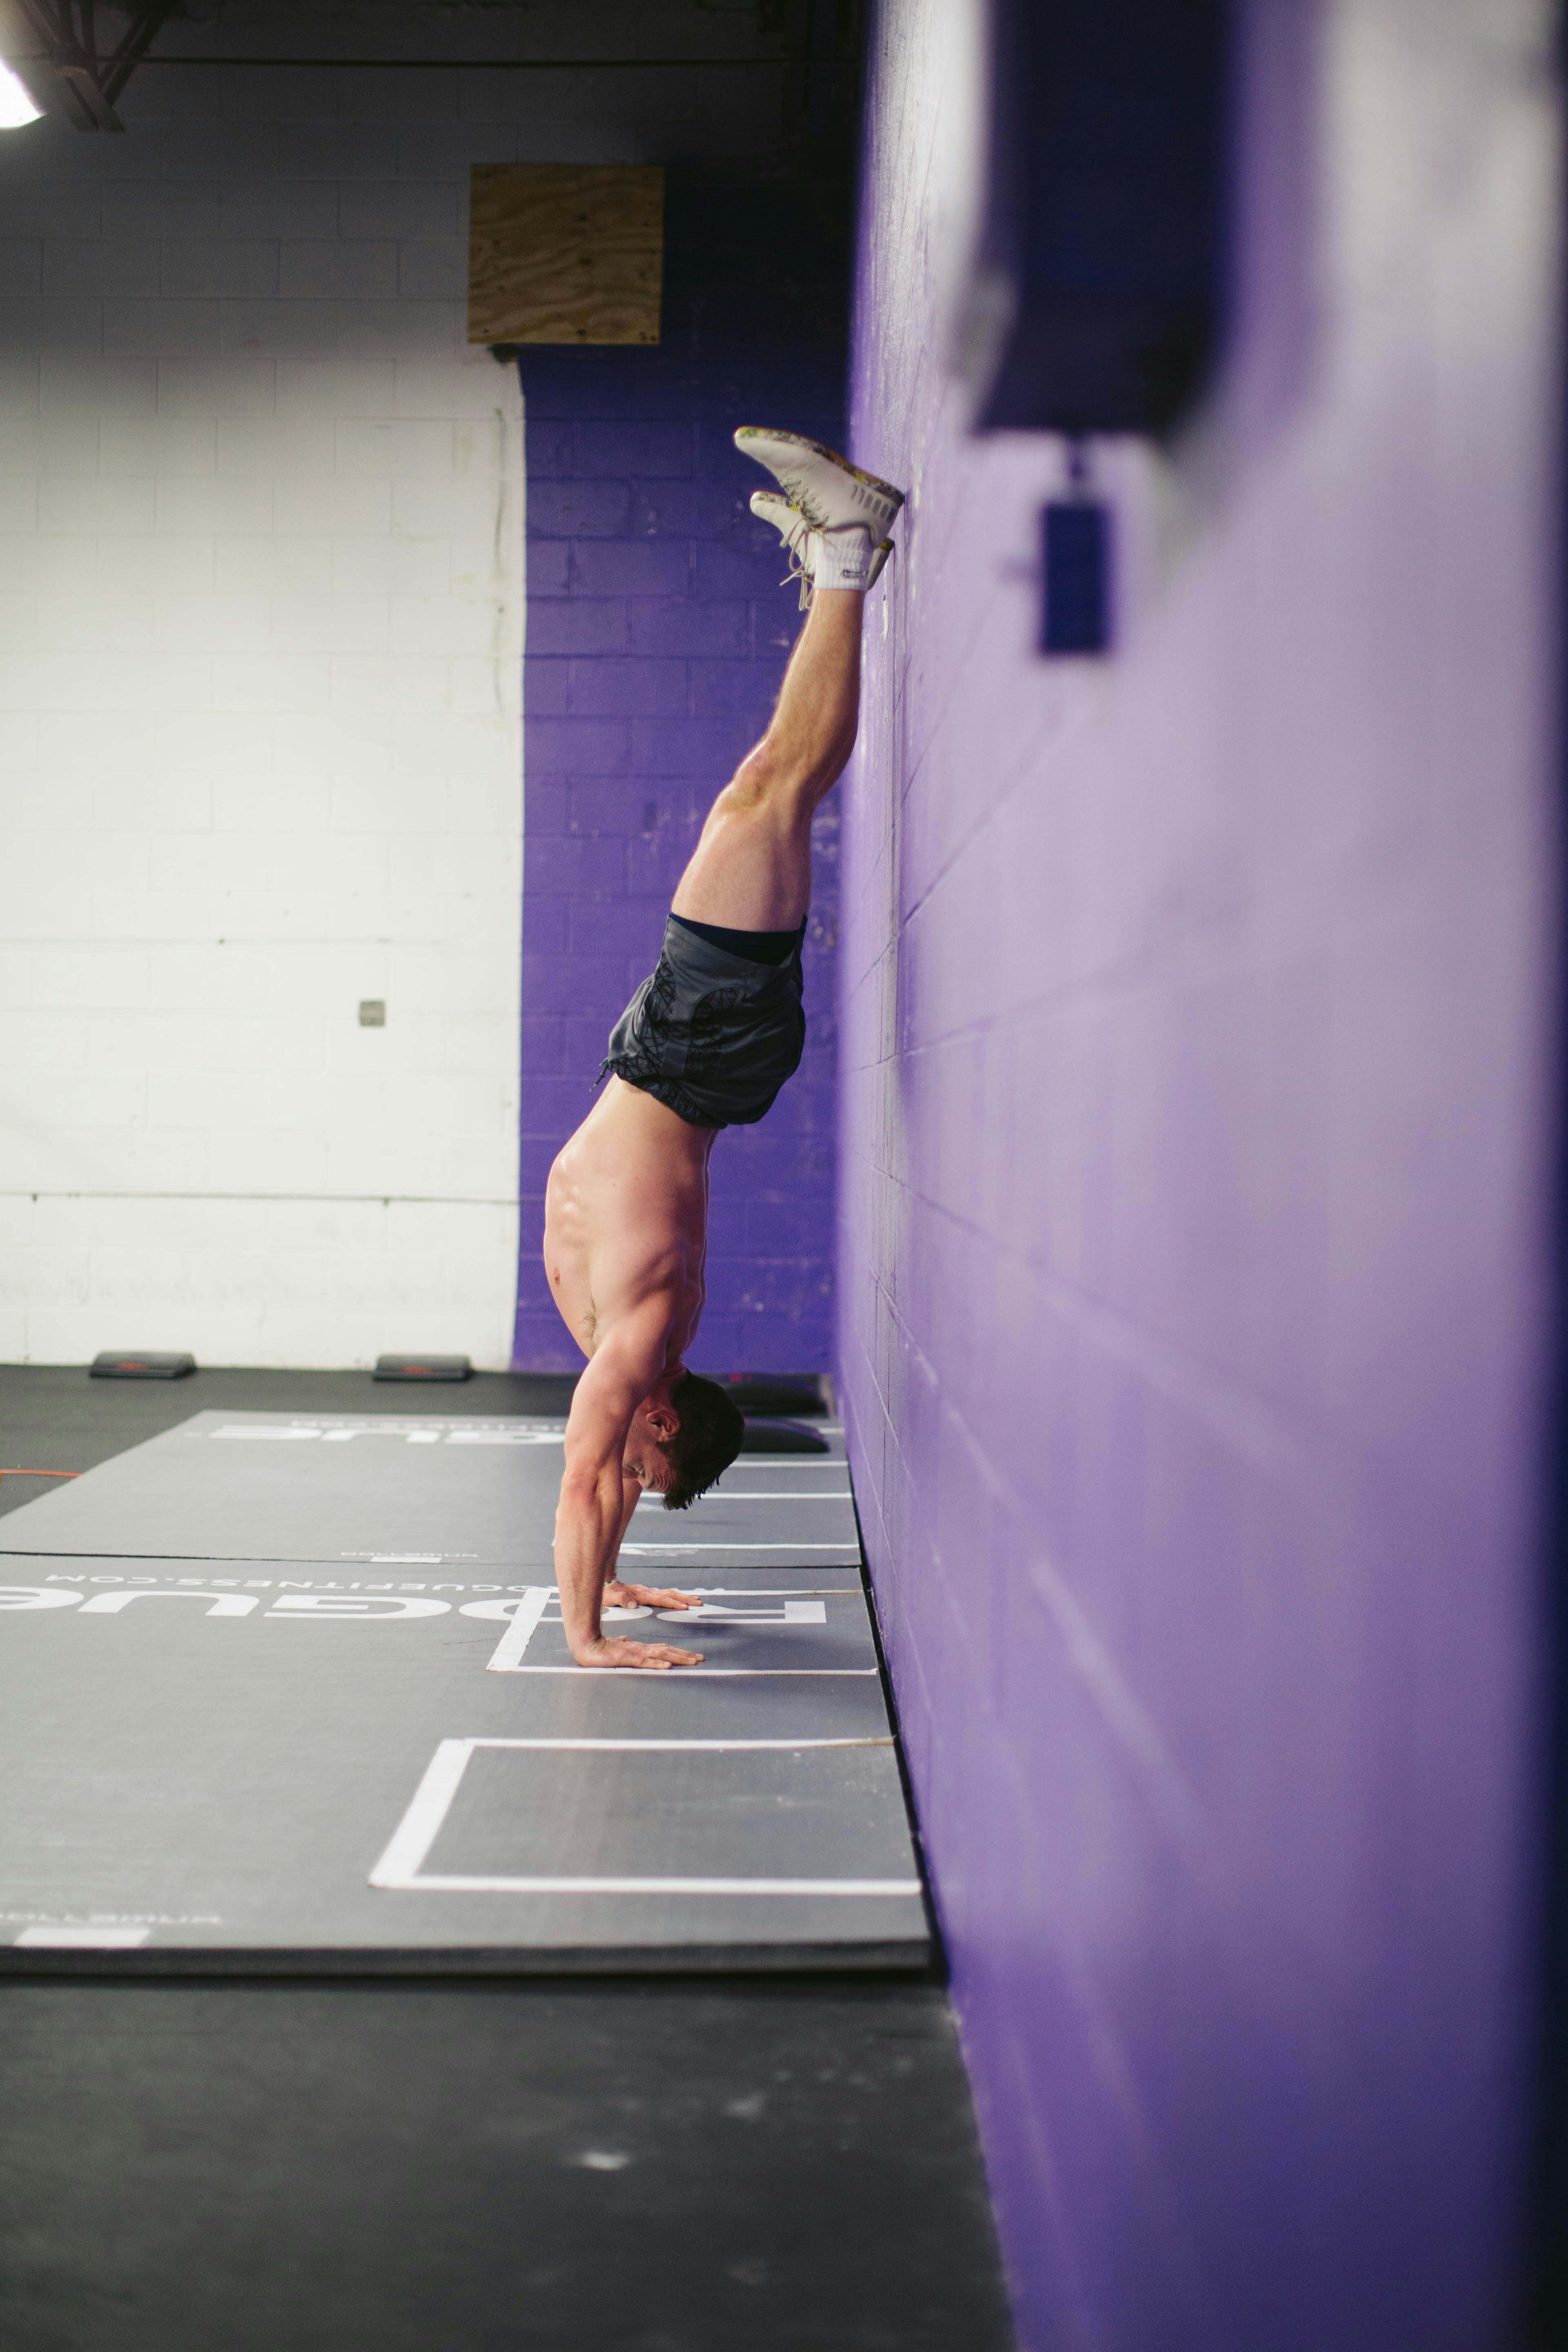
Tutorial: How To Do A Handstand The EVO Way
When learning to perform a handstand for the first time, taking the time to build a level of strength and stability, before adding balance, will go a long way to mastering a consistent handstand hold. So whether you’re after the challenge of a new bodyweight skill, want to build huge levels of upper body strength, or simply wish to have more kudos with your friends and family – follow our 4 simple steps below. Step 1 – body tension In a handstand, adequate body tension is essential for balance, and is required from the hands right through to the feet. Because the arms will naturally straighten in a handstand, it’s often the torso and legs that need tightening up. A simple way of building body tension is by assuming a push up position and progressively increasing the hold time. Start with 10s and build up to 60s. The key is to keep the torso, butt and leg muscles at a consistent level of tightness (whilst breathing freely). To increase the challenge, you can walk the arms out towards an overhead position, and build in the holds from here. However, don’t overdo the arm reach - it’s important to remember we are building the feeling of body tension – not fatigue. Step 2 – building strength The next objective is to build strength and stability through the upper body, as well as increasing confidence in being inverted. This is achieved by progressively elevating the legs using stairs or a wall. The outcome of this drill is to be able to hold the legs in a horizontal position (pike) with the hips over the shoulders. Build up to a 20s hold, whilst maintaining body tension. Step 3 – kick up to wall Now’s the time to practice the kick up. Using a wall serves two purposes: it acts as a safety net; and it allows you to fine-tune the amount of kicking force. Face the wall, lunge forwards and plant your hands a few inches away from the wall. Gently kick up with the back leg, whilst keeping the other one down – this won’t take you to the full handstand position, but it will allow you to refine your kick. The aim is to kick hard enough to brush the wall with the kicking foot, but not slam into it. Practice this drill on both sides. When you feel confident, kick up one leg, quickly followed but he other, into the full handstand against the wall. Step 4 – free standing handstand Now that you know what it’s like to be upside down, and have the strength to hold this against the wall, it’s time to try the kick up to free standing handstand. This will initially require every ounce of balance you can find, and for this reason, it’s important to have a safe exit strategy if you lose balance. The simplest exit strategy is to side-step out, e.g. if you feel like you’re falling forwards, lift one hand and step out with the opposite leg. Find a suitable space and begin slowly kicking up with one leg (as before) – keep the other leg down for the moment so you can build confidence without over-kicking. The aim is to eventually be able to kick one leg up vertical for a few seconds with the other leg staying lower – this will get you used to balancing without falling. With practice, you’ll be able to kick up with just the right amount of force, bringing both legs into a full free standing handstand. Build up the holding time as your skill improves. Handstand tips Use the following tips to make your handstand more efficient: When planting the hands, spread the fingers with middle fingers pointing forward Push the hands into the floor as you kick up Keep the arms straight during all phases of the handstand Drive the hips over the shoulders during kick up – the quicker your hips are over your shoulders, the more balanced you’ll be Maintenance of body tension is the key to good balance and aesthetics; loss of tension often results in a banana-shaped handstand When practicing free standing handstands, use a partner to catch your legs as you kick up. They can then use small adjustments of your legs to fine tune your balance, while you focus on other aspects of the skill Allow time between handstand sessions for the wrists to recover