Top Artikel

Training
02. November 2018
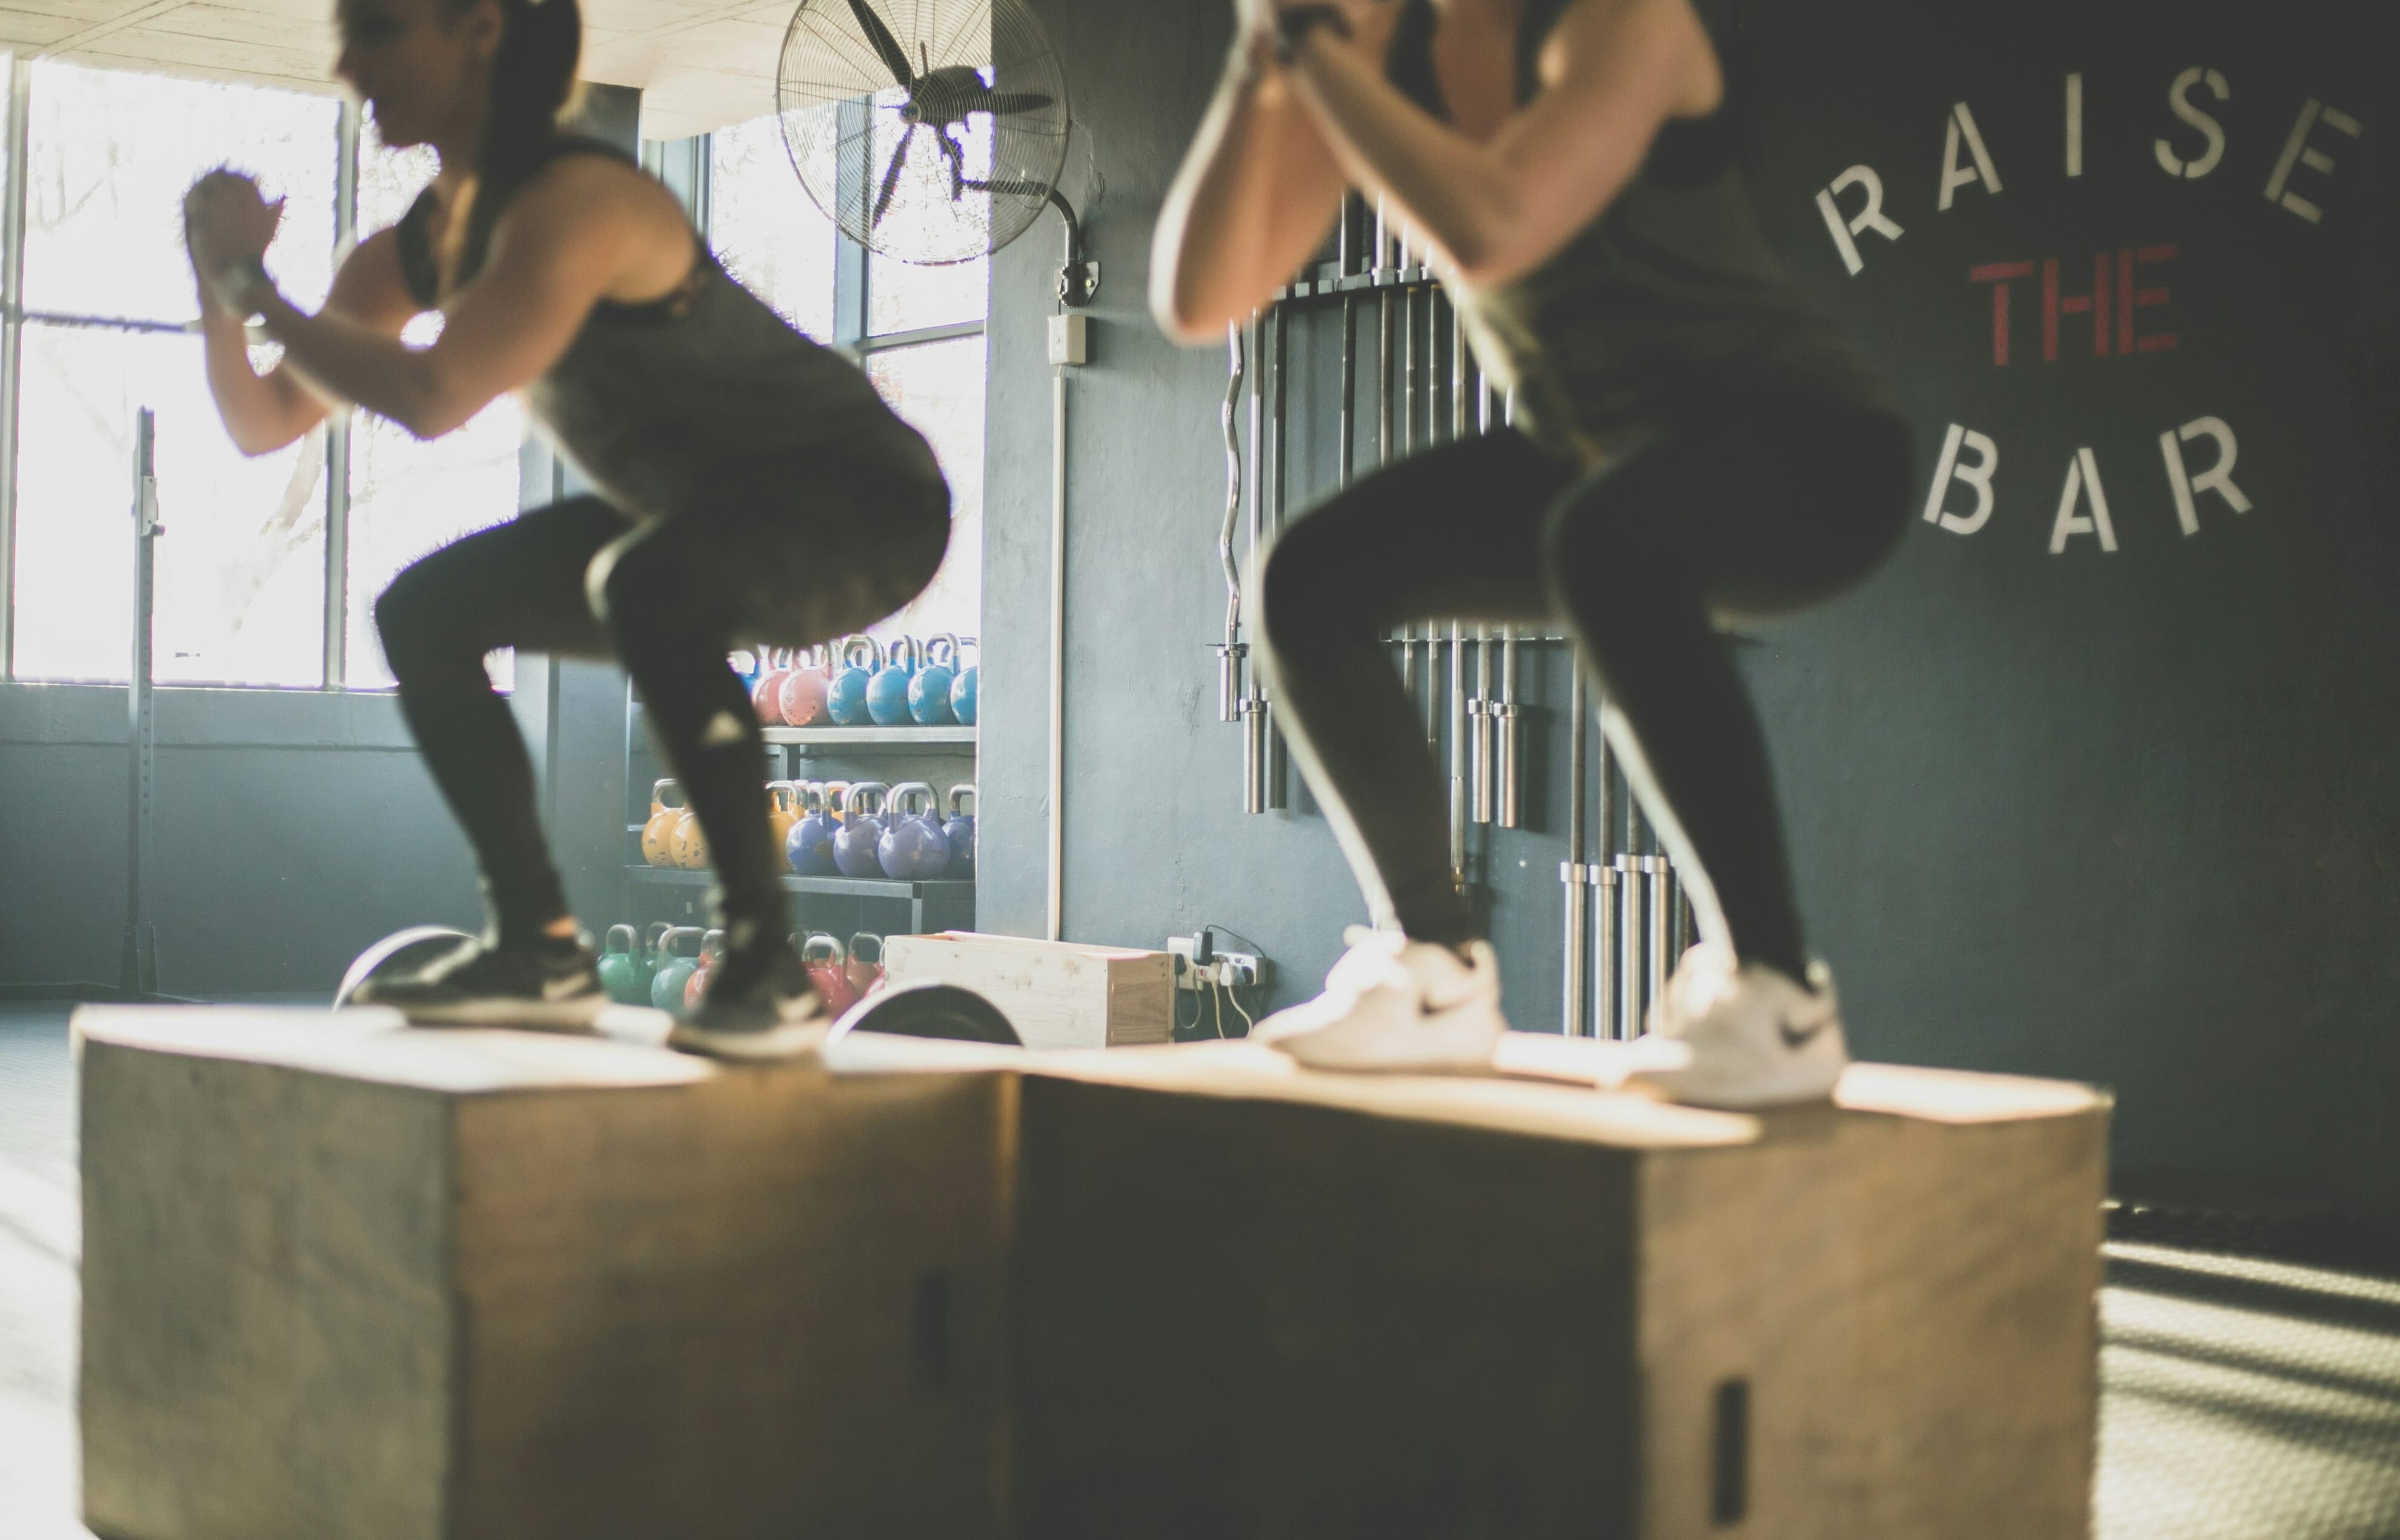
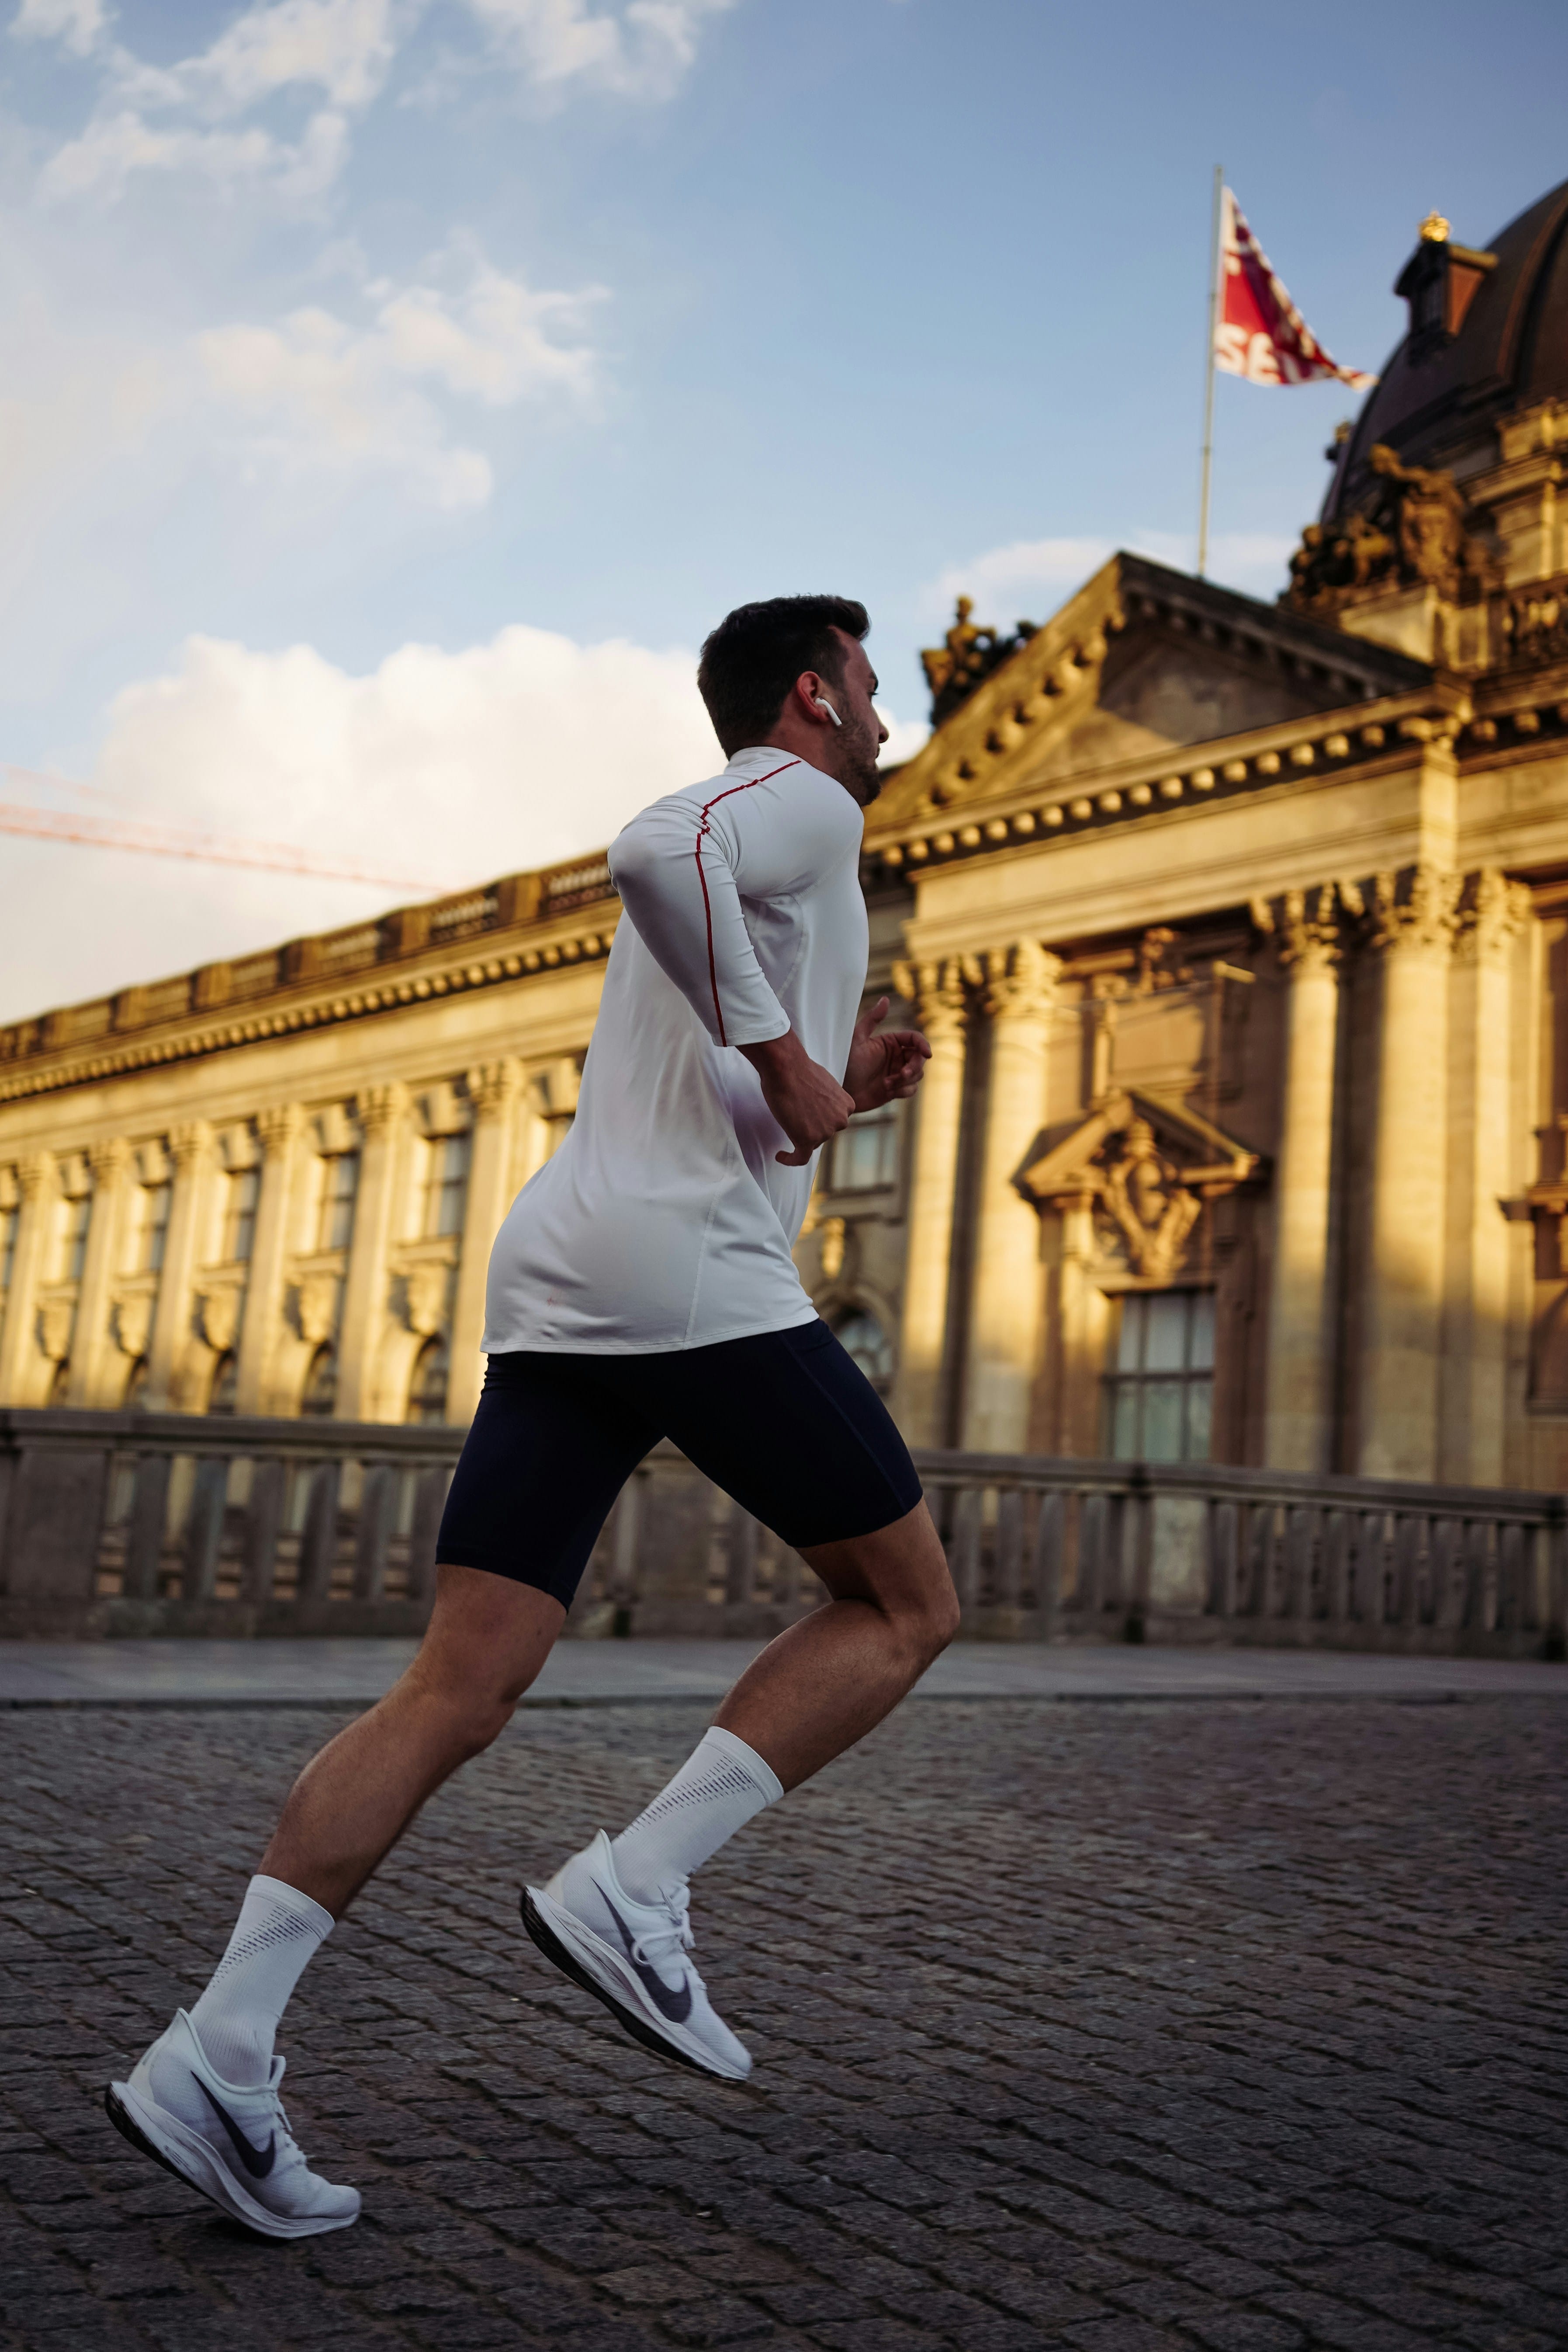
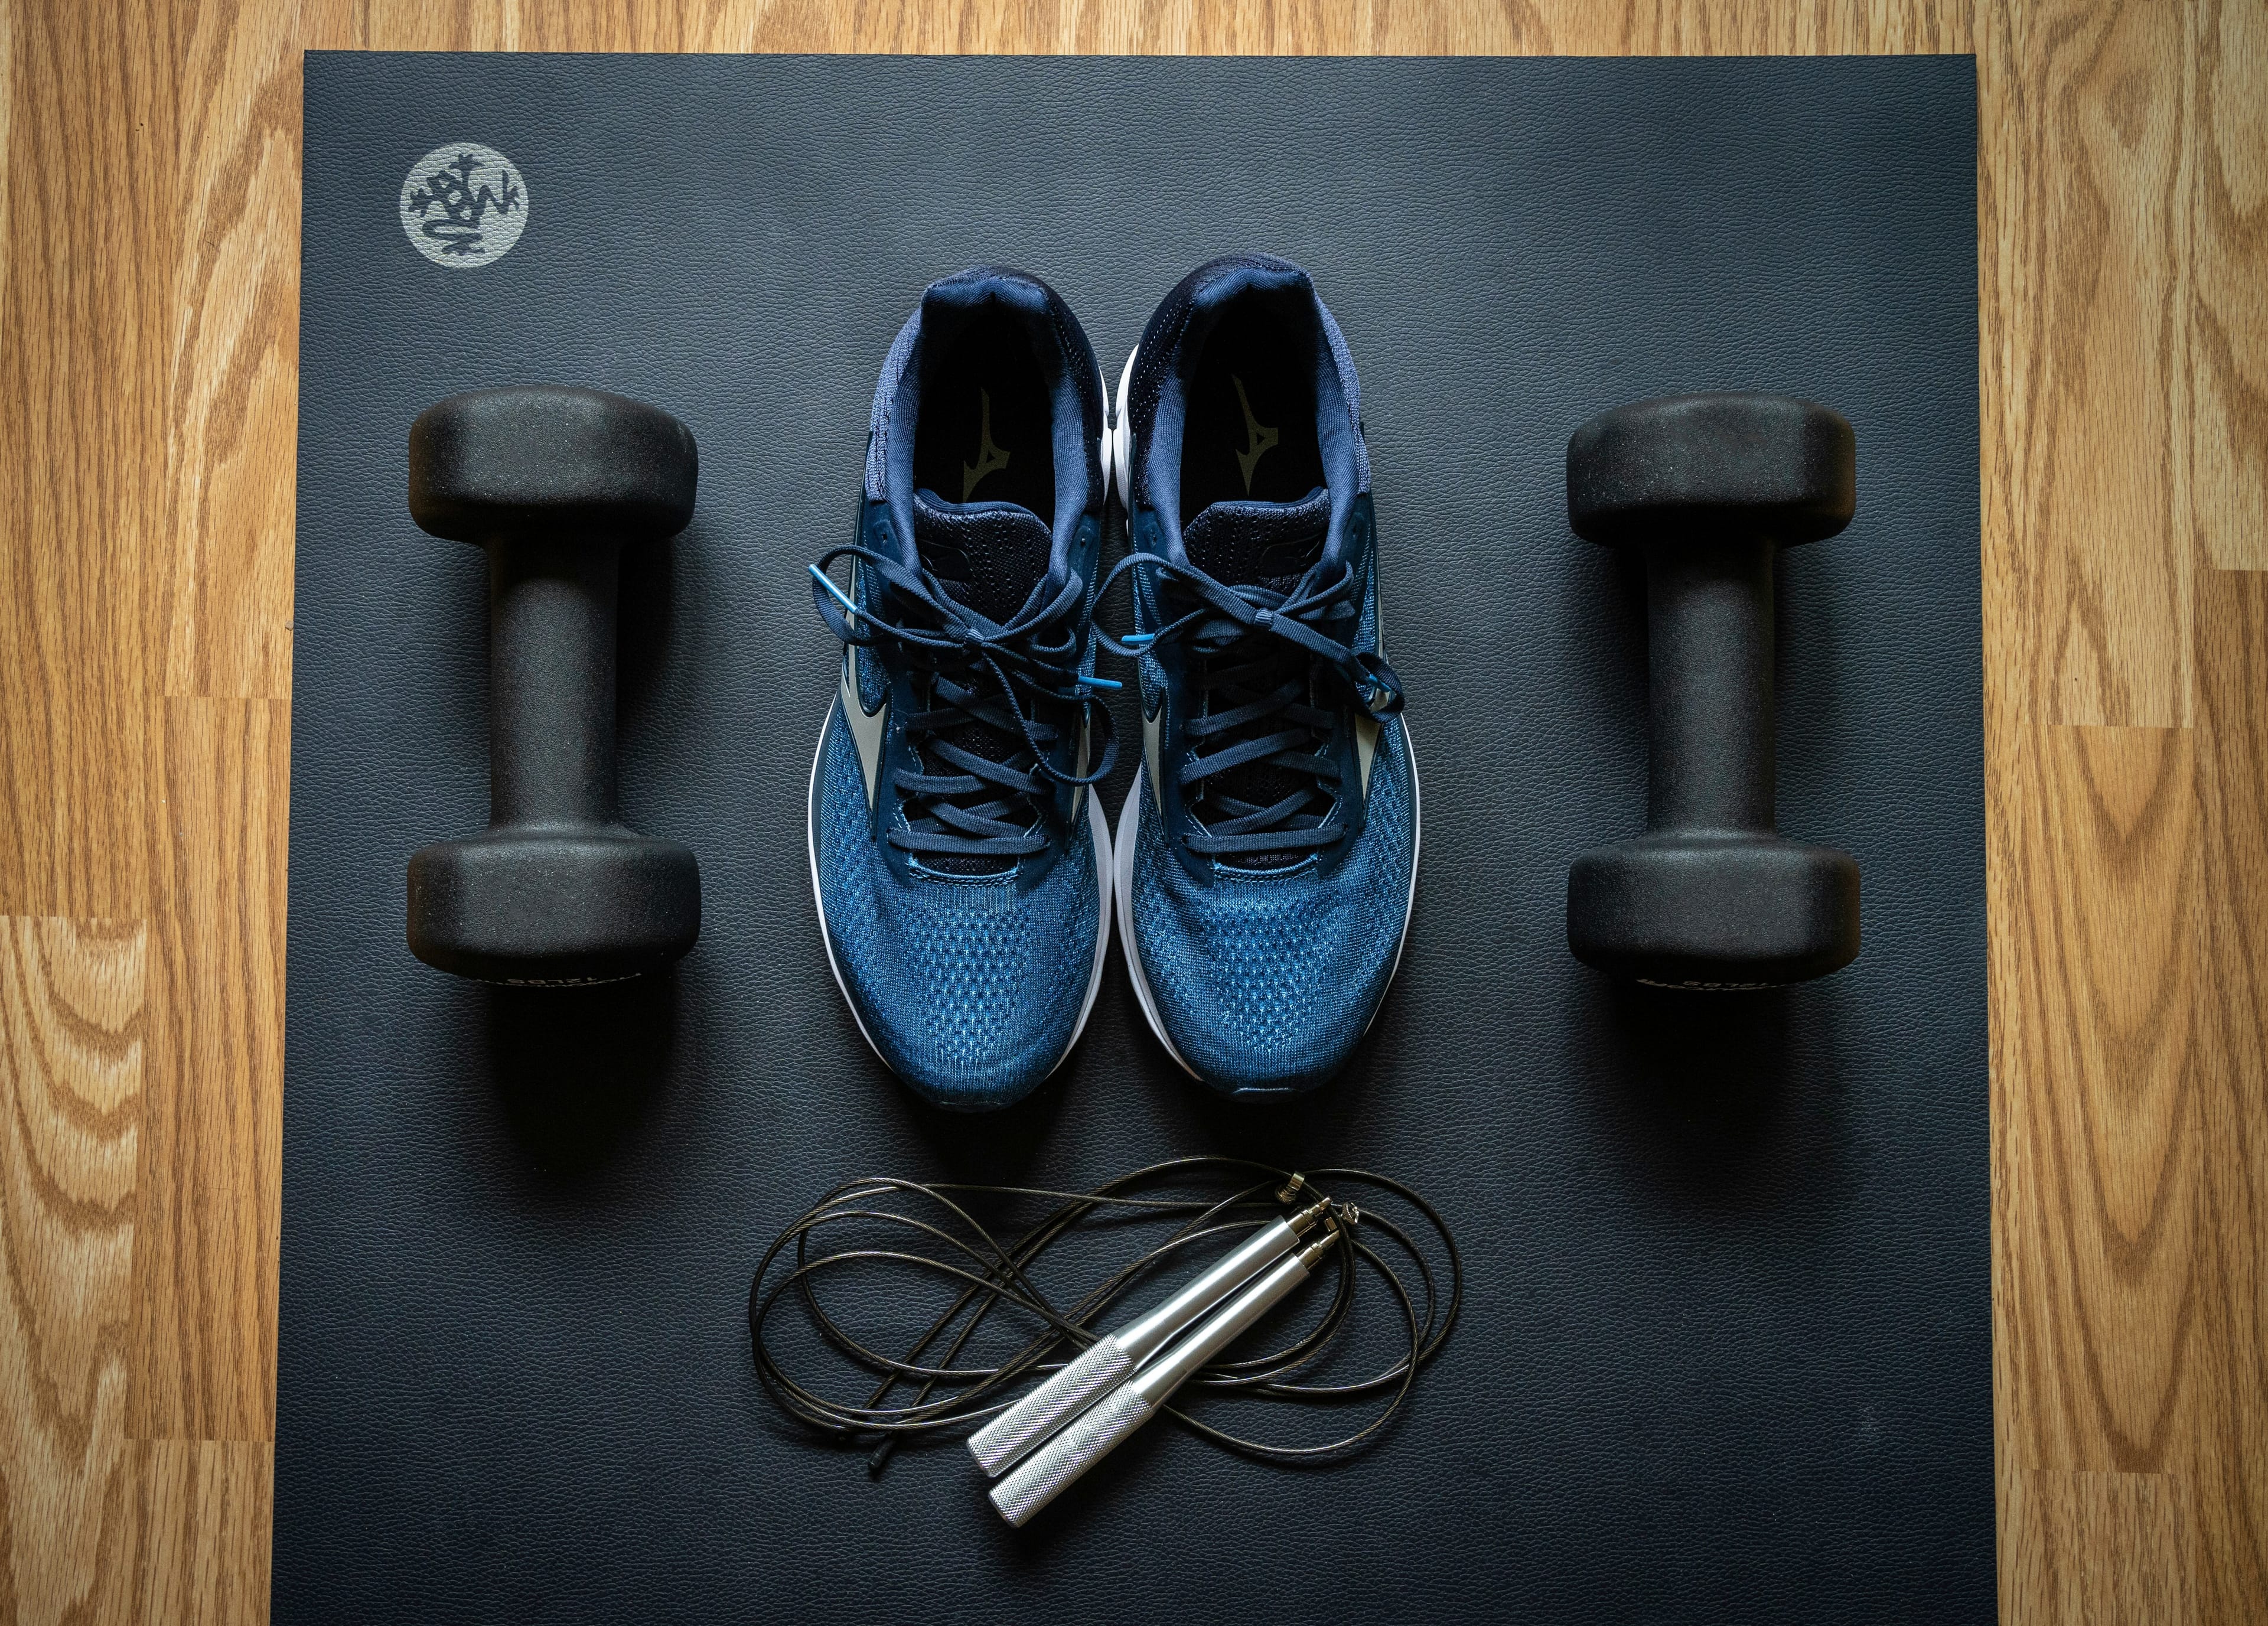
Track your EVOlution with out distance test on the treadmill
It's about time to track your evolution with this distance test. This test is, perhaps, the most relevant test for everyone - regardless of how in shape one feels. With it, you can have a clear overview of your progress. As you repeat the test, you can also collect more information and have a clear view on how you're improving. Here's how to do it: Track your evolution indoors – on a treadmill We suggest you perform our indoor distance test on a treadmill and there’s a good reason behind this recommendation; over a treadmill, you have better control over the surface you run upon, and you can, for instance, increase inclination and create a slope on the treadmill. We also find that it's prudent beginning with a half or one per cent inclination throughout the test instead of adjusting the treadmill up and down along the way. It's fundamental that you have good warm up, from 10 to 20 minutes, before you begin the test. Also, make sure that you’re running for distance instead of a time-based interval. After finishing your warm up, it's advisable that you set the treadmill for the specific distance you're about to run. This way you'll be able to see its countdown, something that most people often find motivating. Another positive side of doing this test on a treadmill is how straightforward it is to control the speed on the treadmill. You do not have to wonder how fast you're going since you are the one in control of it. What information can you get from this test? This distance test gives you a concrete picture on how in shape or not you are. It also helps you identify the speed you can maintain and for how long through the challenge. The test results from the distance test should be an essential part of your basis for evaluating the quality of your workouts between each test. Distance tests show you your physical development throughout the season. They are often handy when you perform them for several years because this way you get an ever-wider and broader comparison basis. The results along the years will most definitely surprise you. Assessment of test results A distance test is not a standardised test; you use your test results as a basis for evaluating what is good or bad. The shorter the time you spend on the distance, the better you can consider your overall fitness level has become. Test Frequency If you divide your training year into different periods, it will be advisable to test before and after each period. If you do not divide your exercise routine like this, you can perform this test every sixth or eight weeks. Suitable for: anyone, any level Don’t miss out on the 5 rules to make sure your test is completely trustworthy – here. Find other exercises and tests you can try to keep your performance in check – here. Test developed by Personal Trainer Halvor Lauvstad Halvor studied at NIH and has been a product manager at SATS and general manager of Norsk Fitness. He has written a series of books about training, including "Best in Birken". Currently, he is lecturing for AFPT in Norway.
Training
31. Oktober 2018
4 exercises to develop your glutes
It’s not just about looking good. Your glutes are there for other reasons. Of course, looking good and having firm and shapely glutes is great and you’ll definitely look great with the right type of jeans. However, glutes are fundamental in movements like jumping and sprinting; also, they play a key role in relieving low-back pain and they are crucial to everyday movements like standing or climbing stairs. That’s why we brought you 4 good exercises for your glutes, courtesy of EVO Norway PT Frida Rommen. Dumbbell deadlift Stand with your feet little wider than shoulder-width apart Hold a dumbbell with both hands, in front you and between you thighs Back straight, keens slightly leaning forward Lean forward to bring the dumbbell down Back at the initial position That’s one rep Static Glute Bridge Hold still in the top position of glute bridge Feet should be about hip-width apart Squeeze your glutes and hold at the top Cable Squat Stand in front of the machine with a straight bar or robe attached Step back so there is tension in the cable Perform the squat Repeat Barbell Hip Thrust Place your upper back on the bench with the barbell across your hips Feet planted firmly on the ground, close to your glutes Drive your hips up Engage your core and abs Hold for a count and only then return to starting position Start your journey to shaped glutes in a free trial in our Clubs.
Training
17. Oktober 2018
Ein hochintensives Zirkeltraining für mehr Kraft, Rumpfstabilität, Ausdauer und Muskelmasse
Moderat-intensives Ganzkörperworkout / Eigengewicht-Zirkeltraining / 6-12 Minuten 4 Übungen 6 Runden Ausrüstung: Reck, TrainingsmatteBESCHREIBUNGBist du bereit für ein super effektives und dennoch simples Ganzkörpertraining, das deine Kraft und dein Durchhaltevermögen auf die Probe stellt? Die fantastischen 4 basieren auf fundamentalen und unkomplizierten Bewegungen. Zudem kommen sie ohne viel Zubehör aus. Außer einem Reck und einer Trainingsmatte brauchst du: Motivation und Konzentration. Und schon kannst du loslegen!Lege die Matte unters Reck und hole dir noch eine Box oder Plattform dazu (falls du Schwierigkeiten hast, an das Reck zu kommen). Damit ist dein Trainingsbereich schon fertig.Die fantastischen 4 bestehen aus 4 fortlaufenden Übungen. Das Ziel ist es, sechs Runden zu schaffen. Starte die Stoppuhr, wenn du mit der ersten Übung der ersten Runde anfängst. Stoppe sie, wenn du mit der letzten Runde durch bist. Mit jeder Runde wird es anstrengender werden: Mache also ruhig eine Pause zwischendurch, solltest du nicht mehr können. Falls du gerade erst mit hochintensivem Training anfängst, kannst du auch die alternativen Übungen machen und dich langsam an die schwereren Versionen herantasten.Versuche, jedes Mal deine Leistung zu verbessern, wenn du dieses Ganzkörperworkout machst.KLIMMZUG10 WiederholungenHänge dich mit gestreckten Armen an das Reck. Halte deine Ellbogen zusammen und ziehe deinen Brustkorb zum Reck. Ziel ist es, mit dem Kinn bis über das Reck zu kommen.Leichtere Version: Stelle dich auf eine Plyo Box und springe in den Klimmzug.[embed]https://vimeo.com/194348767/dcdb6fde1e[/embed] LIEGESTÜTZE10 WiederholungenGehe für diesen Teil des Ganzkörperworkouts in die Liegestützposition, die Hände sind unter deinen Schultern. Halte Schultern, Hüfte und Knie in einer geraden Linie und sinke langsam nach unten, indem du die Ellbogen beugst. Strecke die Arme wieder, bevor du den Boden berührst und gehe in die Anfangsposition zurück.Leichtere Version: Führe die Liegestütze auf den Knien aus.https://vimeo.com/193039660/d2a8155cef V-SIT10 WiederholungenLege dich flach mit ausgestreckten Beinen und über dem Kopf ausgestreckten Armen auf die Matte. Bringe nun in einer schnellen Bewegung Arme und Beine zusammen, sodass deine Hände deine Füße berühren und du eine V-Form bildest. Halte deinen Rücken gerade und kehre in einer langsamen und kontrollierten Bewegung wieder in die Anfangsposition zurück. Versuche dabei nicht zu wackeln.Leichtere Version: Beuge deine Beine. Positioniere deine Hände neben deinem Kopf. Bringe nun Ellbogen und Knie zusammen.https://vimeo.com/191958196/66b535b595 KNIEBEUGE10 WiederholungenStelle dich mit vor dem Körper ausgestreckten Armen gerade hin. Achte darauf, dass deine Knie eine Linie mit deinem Rumpf bilden. Halte den Rücken gerade. Sodann sinkst du mit der Hüfte nach unten. Versuche so weit herunter zu kommen, dass deine Hüfte tiefer als deine Knie ist. Die Hacken sollten dabei nicht vom Boden abheben. Gehe wieder hoch und wiederhole die Bewegung.Leichtere Version: Gehe nur so weit herunter, bis deine Oberschenkel parallel zum Boden sind.https://vimeo.com/193041551/18b70ea278Viel Spaß beim Schwitzen!Hier findest du weitere funktionelle Übungen und Ganzkörperworkouts:TRX Workout für eine bessere Haltung und einen kräftigen RückenTRX Low PullHamstring Curl
Training
27. September 2018
Calisthenics: What, how and why they should be in your workout plan
Dumbbells, barbells, weight machines and the rest. We always see images of weightlifters giving the highest of praise to such workout equipment. But many tend to overlook the purest and most important form of training of them all: calisthenics. There’s no doubt it’s become a buzzword in the world of fitness - and yet this often misunderstood term has always been around. What is calisthenics? Put simply: calisthenics is any exercise that uses your body weight for strength gains. Pumping iron isn’t the only way to get stronger - calisthenics is arguably more useful in bumping up the muscular volume while shaping your body for optimal athleticism at the same time. How does calisthenics work? Bodies weren’t designed just to move backwards and forwards. It’s the reason EVO personal trainers encourage members to eschew that one-plane-of-motion mindset and twist, rotate, push, pull, squat, jump and move side-to-side. Performing calisthenics at a slow to moderate rate requires more muscle use, in turn helping to build muscle. Train at a faster rate, and you can burn more calories than many cardio workouts, due to the high levels of muscle Engagement. Why practice calisthenics? Slimmer, fitter, stronger - the benefits of calisthenics are plentiful. Here are just a few of them: Workout anywhere Most calisthenics exercises require zero equipment. No need to wait for machines at the gym or travel to group classes to get a full-body workout - once you practice bodyweight training you can do it in your home, at the park, on the beach. Of course, there is equipment that’ll boost your calisthenic training tenfold. At EVO we have our very own playground - a dedicated space for freestyle training. Think gymnastic rings, Swedish ladders, Octagon functional frame and a textured traverse wall. Basically a bodyweight buff’s paradise. Carve your optimum physique With increased strength, calorie torching, power and endorphin euphoria comes a toned, flexible and strong body. Just look at Al Kavadlo’s physique - one of the world’s leading experts in calisthenics and bodyweight training is awe-inspiringly shredded. By working multiple muscle groups at once (for example, an explosive push-up works out the chest, arms, abs and spine), you’re training the body in a way that looks more proportionate. ‘Skipping leg day’ no longer becomes a subject of concern as unnatural bodybuilding physiques will be overturned for useful, natural and tantalisingly toned muscles. Shift your mindset Calisthenics creates total body awareness. Most exercisers are so used to repetitive workouts, but constantly switching up your routine will keep your brain switched on and prevent the dreaded fitness plateau. Muscles will grow back stronger, so in turn you seek new challenges - progress is infinite with calisthenics. Prevent injuries It’s harder to ‘overtrain’ one particular muscle group in calisthenics. As a result, injuries are less common. Those who suffer from joint pain from repetitive exercise and lifting heavy metal will find calisthenics more natural and less demanding. They’re called ‘bodyweight’ exercises for a reason - our bodies were quite literally designed to do them. Stick to the original blueprints and adapt to the environment around you and you can’t go wrong.

Training
20. September 2018
Here’s what to know about functional training in pregnancy
Before we start, it’s important to point out that you should always consult your doctor before beginning to exercise during pregnancy, mainly if you were not active before. There are a lot of different opinions in the fitness world out there, but primarily the recommendations will always depend on your overall fitness level, your experience and your health situation. Generally, there should be no problem in including more movement during pregnancy – actually, is quite the opposite. Experience tells us that the more exercise and natural movement involved, the easier it is to maintain a healthy pregnancy throughout and to experience a more comfortable birth. During pregnancy, the pelvic floor has to carry more and more weight, and at the same time, all muscles lose tension and become weaker by hormones that prepare the pelvic floor for birth. In most cases, the centre of gravity changes - you have weaker stability, and this leads to Lumbar hyperlordosis. Therefore stability training is of vital importance and provides excellent benefits for the body. As an EVO Personal Trainer, I guide my clients to focus on the pelvic floor, instead of just offering some exercises to keep them active. Another recommendation is that you shouldn’t focus on reps or time. I call it Pelvic floor tempo. The key to proper functional training during pregnancy is to not stretching your limit. You should keep your workout to about 70% of what would be your "normal" intensity. This is one way to find the right balance so that the exercise benefits you and especially so that it benefits the tiny life evolving inside your belly. Benefits of working out during Pregnancy: Maintains pelvic floor strength prevents back problems improves posture you stay active helps during labour get back on track faster after labour stability for the joints – they get unstable due to the Hormones Cardio Training should be aerobic and lighter, so no interval training or high-intensity training. Keep the heart-rate bellow 140. One way to track it is to make sure you can speak normally (with no breathing effort) during the entire session. So, talk a bit, test as you go and you'll be alright. For an EVO style workout, I recommend a moderate Tabata Training 40/40. It's an ok workout as long as the weather is not over 29°. Now it's time to some do's and don'ts. Dont‘s: Avoid pressure and significant stretches Don't carry heavy loads Start on something completely new to your body Don’t go above your limits Pelvic floor pressure (Deep Squat, Jumps, high weights) Abdominal pressure (Plank, Deadlifts, overhead exercise, military presses, powerbands and Tubes) Something that causes you pain Shear forces on lumbar spine / pelvic floor (lunges, side lunges, wide-lunges, side plank) No grid roller on lumbar spine or TFL Band Passive, loose, lazy Posture that may lead to problems/instability: - Inactive flat feet - Hyperextended kneed - Saggy Core - Protracted shoulders Do‘s: Easy pelvic floor training. Especially to become aware of how to engage the with pelvic floor muscles (for having an easier birth giving). Slow controlled movements Physically smart alignment Neutral joint positions Correct hip position (anterior tilt vs posterior tilt) due to belly weight anterior tilt happens so practice and do posterior tilt Get up or lay down sideways Very fit women or athletes have problems consciously relaxing the pelvic floor so they need to practice this regularly Active Posture to Prevent Problems: - Improve feet activity - Slightly flex of the knees - Little activation on the pelvic floor and belly button towards the baby - Create length in Spine - Bring thorax upright Short pregnancy safe workout 1. 2 minute - side reach https://vimeo.com/194312544/298898d327 2. 2 minute - KST Low Pull https://vimeo.com/193846223/b24527cab5 Repeat 1 and 2 3. 2 minute - Hip mobility but spine stretch and heart opener https://vimeo.com/194029333/6dc0123832 4. 2 minute - Kinesis chest press https://vimeo.com/194014758/069c6d11f9 Repeat 3 and 4 Nathalie Vitakova is a personal trainer at EVO Le Flair in Dusseldorf Personal Training // Coaching // Athletik-Training // Yoga
Training
31. August 2018
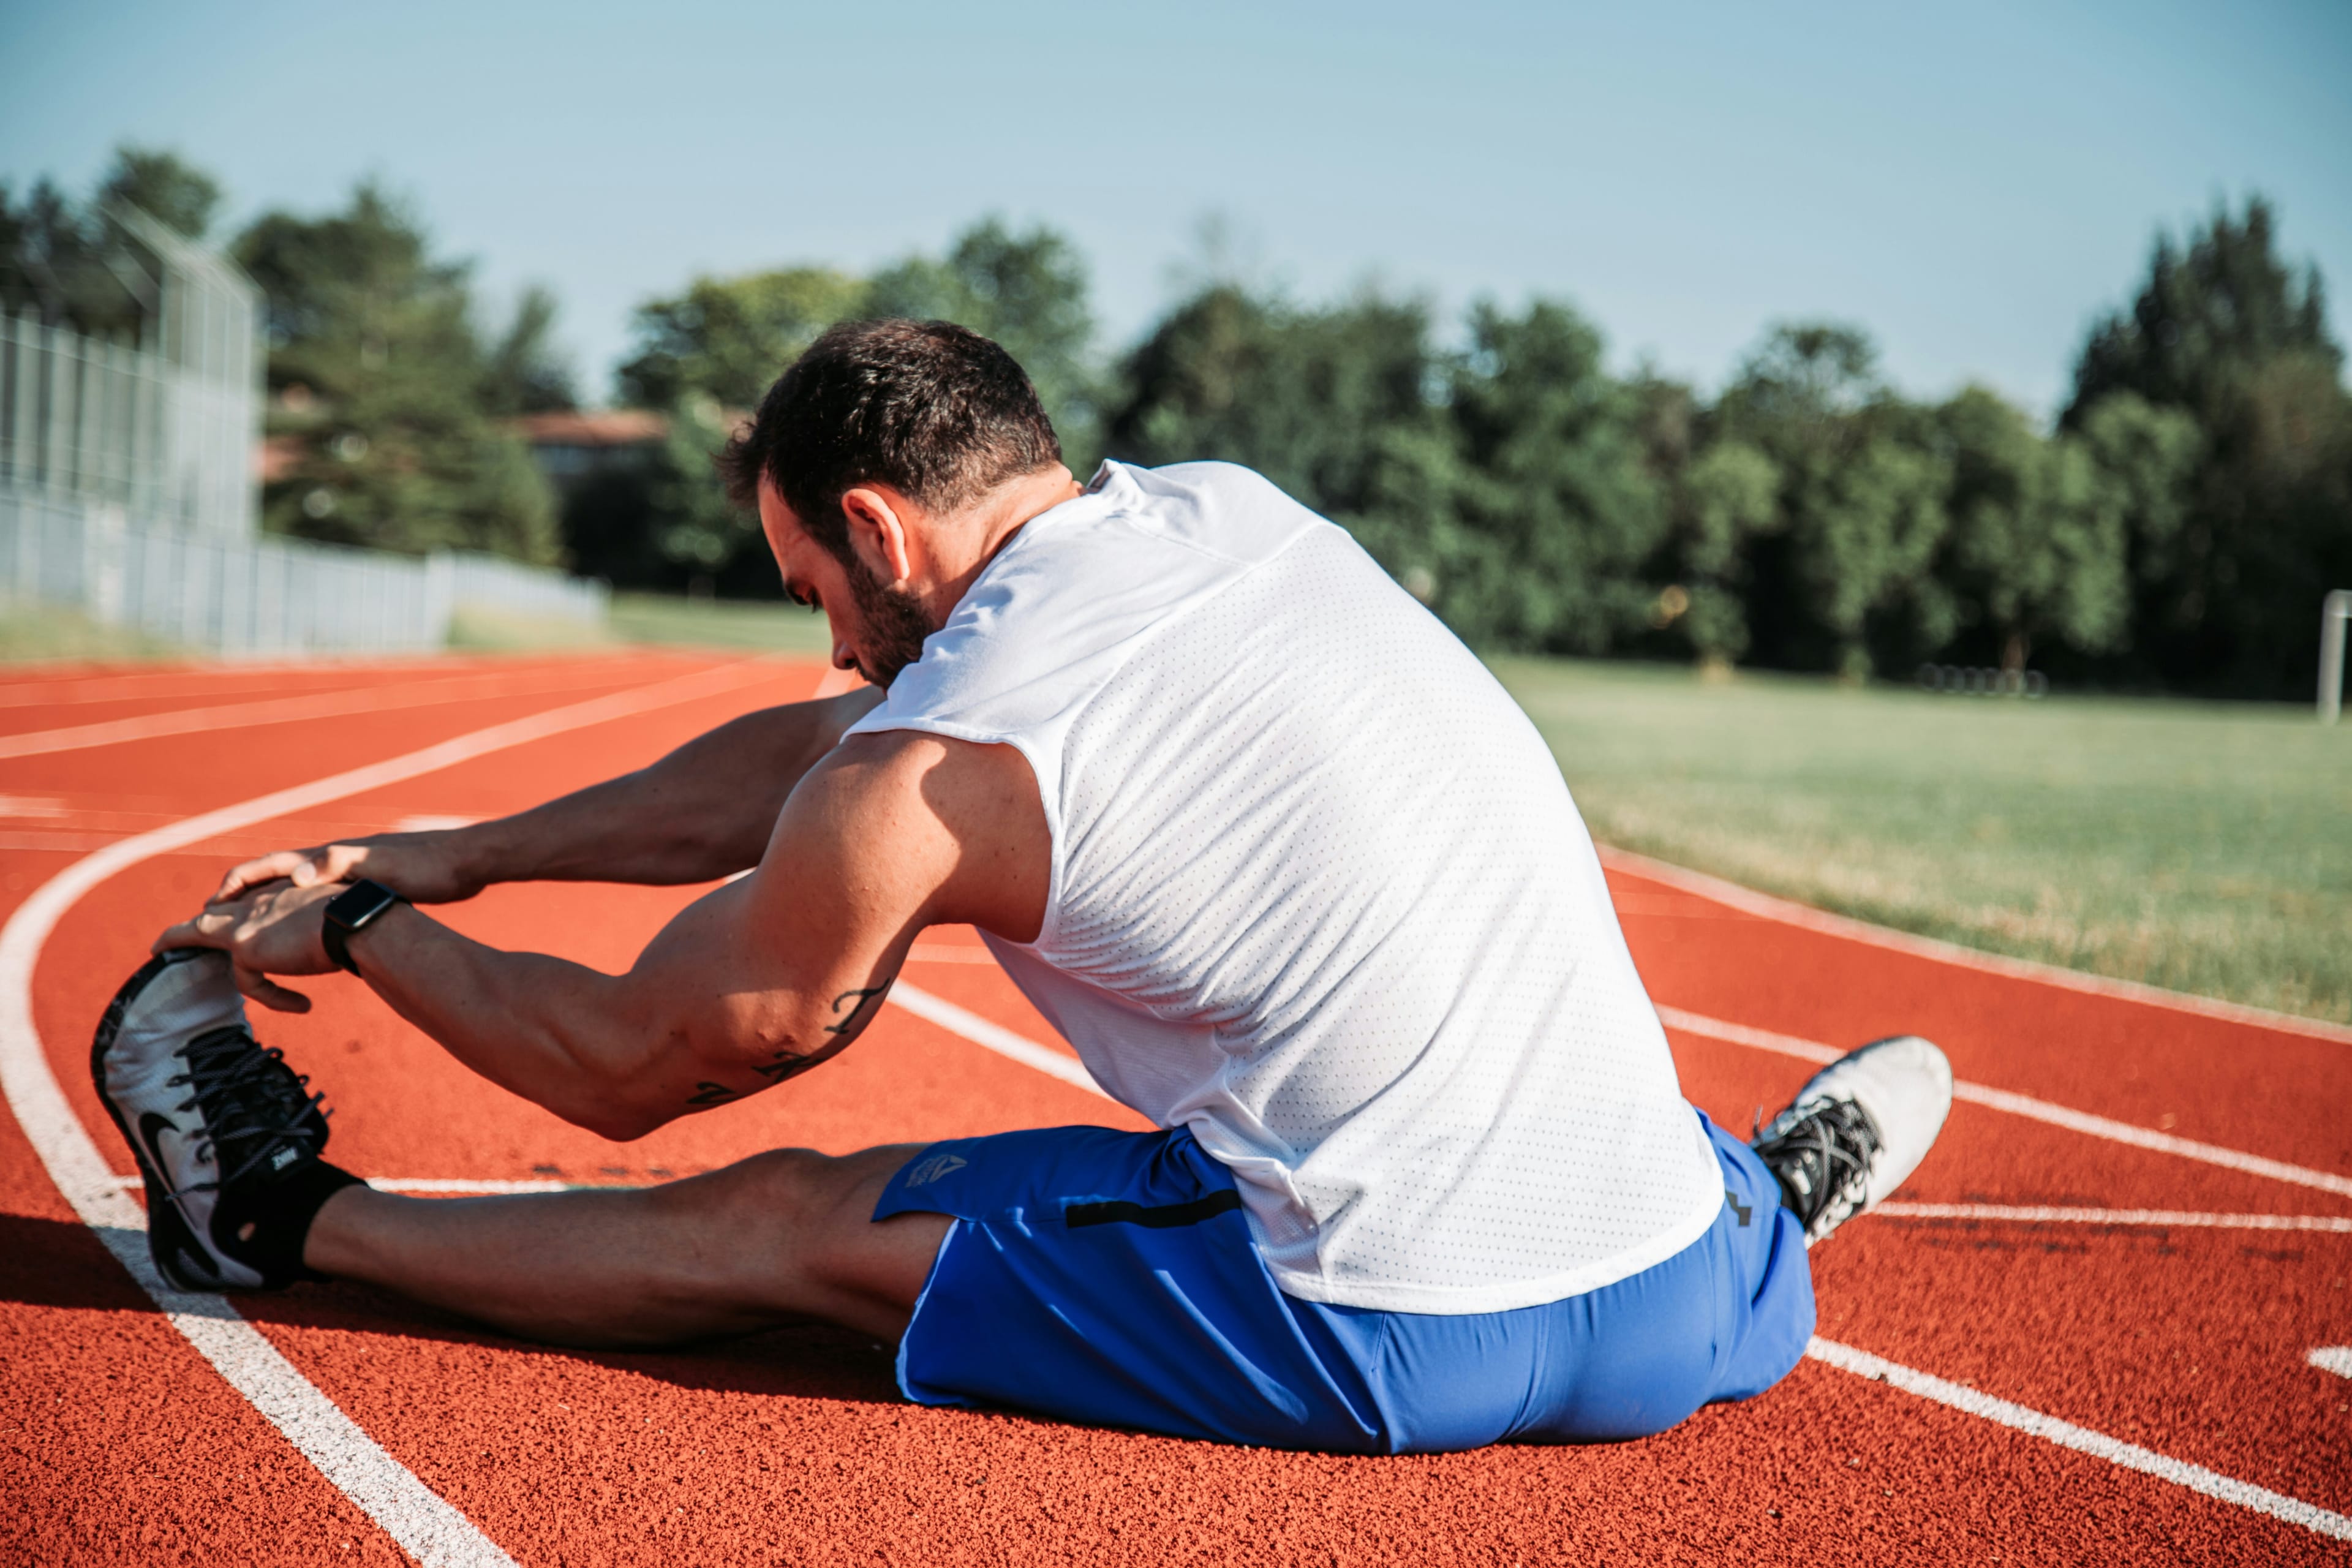
Perfect running technique - 3 simple tips you need
Is there such a thing as a good and a bad running technique? Yes, definitely, but it's not always easy to spot. A good running technique can be defined as a way of running, which gives the highest possible speed with the least use of energy and effort. Here you'll find 3 simple technical tips and checkpoints that are relevant to those who run and wish to run even better. 1 Do not brake - power-up! How the foot hits the ground relative to the hip has a lot to say for how fast you can create motion and power forwards in the next run. If the foot is placed in front of the hip, you will in practice slow the body and "new speed" (acceleration) will not be created until the foot has passed the hip, this causes you to use a lot of effort to literally slow your speed. So you'll spend a lot of effort on achieving the same speed again in each step. In addition to the fact that this is a waste of effort, you also spend a more extended period on each step because of this. Try to hit the ground with your foot just in front or under your hip, driving the body in the right direction, as always, with the least waste of force. You can try to increase the stepping rate as you run. Increased frequency means slightly shorter steps but also leads to less braking. 2 Hip up and forth! You should preferably not sink into the hip joint ("sit") while running. If you are able to get your hip up and forward (stretch hip), you automatically use less time. If your hip sinks to the side every time you hit the ground, you definitely need longer to move your body weight forward - in each step - than you would if you get your hip more comfortable. A trick that makes it easier to avoid this is the hip technique: it is to move your arms up and forth so that you get a rotation that leads your hip forward. A strong core muscular (stomach and lumbar spine) helps you to keep your hip position without waving to the side. Running in reverse is a good way to practice this. Try to lean forward while at the same time pulling your feet forward. 3 The arms compensate for rotation Stability. One of the key factors for running efficiently is to avoid waste of effort. Running is about making your body the fastest possible moving forward. Rotation and lateral motion will be factors of failure. When the "opposite" arm and leg (e.g. right arm and left leg) are advanced, it counteracts rotation in the upper body, so that the movements can take you as far as possible. An easy test: Put on your pants with pockets. Place your hands in your pockets and run, then you soon know that your body rotates sideways. You'll probably also struggle to keep the balance, at least if you run fast. The arms give you stability if used right. They will "offset" the body's rotation so you can run steadily. The greater the speed you have, the greater the need for stabilising arms, just look at the sprinter's arm movement compared to those of a marathon runner; The sprinter brings the arms higher up and forward and farther back due to high speed and forces that pull towards the sides. The long-distance runner has lower speed and thus "smaller" arm movements. You can exercise on good core stability by taking the arm motion to go from having your hands almost touching your chin all then swinging all the way to your back as you run. If you are running slowly you will hardly notice the stabilising effect the arms have on your body, so run at a little faster to make sure you see the difference. You do not want to run while excessively contracting the core muscles. You can evaluate your technique by filming yourself and find out how the arms should work to make you run smoothly with your running style. Are you running technically? If you record your running, you can easily check and assess your skills. Watch yourself in slow motion and evaluate the following points: Do you tend front or back hip? How are the synopses when you land? Stretched up and forth in the kick out? Do you rotate a lot in your upper body while running? Is the core strength sufficient to compensate for the rotation? Are you looking forward or down? Take these tips and EVOlve in your next run. Don't forget to share and comment on Facebook and Instagram. Personal Trainer Halvor Lauvstad Halvor studied at NIH and has been a product manager at SATS and general manager of Norsk Fitness. He has written a series of books about training, including "Best in Birken". Currently, he is lecturing for AFPT in Norway.
Training
09. August 2018
Running in the summer: is morning, afternoon or night best?
With bright blue skies above and flowers blooming all around, summer’s by far the most beautiful time to go running. But when is the best time of the irresistibly sunny day to take to the trail? According to a study from the Journal of Strength and Conditioning Research, the best time to run is when your body temperature is at its highest and your muscles at their most limber, which is during mid to late afternoon. Alternatively, in the morning, your body temperature is at its lowest and your muscles their stiffest - equalling less effective runs that might even lead to injury. Question answered. Or is it? As with most things body-related, the answer isn’t quite that simple. In truth, there are benefits to running at whichever time you prefer - here are just a few. Running in the morning Finding it hard to function at work during those hot summer days? Try a pre-9am run. Exercise helps you to feel more energetic and positive by releasing adrenaline and endorphins (the ‘happy’ chemicals) contributing to increased productivity in the office. If you’re trying to lose weight, running at this time could be beneficial, too. Your body burns calories faster on an empty stomach, so squeezing in a quick sprint before breakfast bodes well for slimming down. Although you’ll need to be extra careful to stretch before a morning run, it can be safer to sprint at dawn in terms of the environment. Mornings are the coolest part of day, so you’re less likely to overheat as you dart around the park - a particular perk in the summer. Running in the afternoon You’re in the best possible condition to run during the afternoon. Your body reaches peak performance between the hours of 4pm and 7pm, as its temperature is at its highest and your muscles are naturally more relaxed and flexible, having been in use for the better part of the day. Because of this, running should feel easier, and you should be able to go faster for longer. According to a study listed on the National Institutes of Health, your lungs function 6% better in the afternoon than at different times during the day - which, along with your body temperature and limber muscles, helps to increase your stamina and ability to run for larger stretches. Who’d have thought? Running in the evening As your body temperature is still high in the evening, you’ll have many of the benefits of afternoon running at this time - along with added focus. According to an article in The Australian, as the day gets darker, your senses become heightened and you rely less on your sight and more on your proprioceptive (sensory) skills. These help you to react more reflexively to adversities such as potholes while you run, which could help you avoid injury. Hormones important for energy metabolism, such as cortisol and thyrotropin, are at their highest in the evening, contributing to an even more effective workout. Ultimately, it’s up to you While it makes sense to start running in the afternoon or evening if these times fit your schedule, don’t force it. What’s important is that your run works for you. The true secret to fitness success lies in consistency, so as long as you’re dedicated to your run slot - be it morning, noon or night - your body will learn to adapt. Just lace up and go. In the EVO clubs you can easily run daily from 6am to 11pm. Try it!

Training
17. Juli 2018
What is BMR and how can it help you lose or gain weight?
Staying alive burns calories. Even when you think you’re not doing all that much, you’re a breathing, blinking, blood-pumping, cell-growing, muscle-contracting machine. All of these functions that your body needs to sustain itself require energy in the form of calories - and the amount of calories needed for this is known as your basal metabolic rate, or BMR. What is BMR? Put simply, if you were to (hypothetically) rest in bed for the entire day, your BMR would be the amount of calories burned to perform your body’s basic (basal) functions. The higher your BMR, the more calories you burn - simply by being alive. How can I calculate my BMR? There are a few strategies you can use to work out your BMR. For the most accurate results, you’d need to get it measured in a laboratory under restrictive conditions. Experts measure carbon dioxide and oxygen after you’ve fasted for 12 hours and had an eight-hour sleep. But there are other methods. By using a scientific equation, you can achieve a rough estimation of your BMR that’s still just as useful. The best is the Mifflin-St.Jeor method. Find the online BMR calculator here, which uses this equation: For men: BMR = 10 x weight (kg) + 6.25 x height (cm) – 5 x age (years) + 5 For women: BMR = 10 x weight (kg) + 6.25 x height (cm) – 5 x age (years) – 161 Can I use BMR for weight loss? The fact BMR is basically your metabolism means it plays a very important role when it comes to weight loss and weight gain. It’s your most basic calorie burn. Those with higher BMRs are the kind of people who can eat an insane amount of food and never gain weight. Obviously they’re at a genetic advantage, but there are plenty of ways you can work towards a higher metabolism and BMR. How can I increase my BMR? Everyone’s BMR is different. Your age, gender, size, height, weight, mass and even the size of your internal organs (larger organs need more fuel) play a part in determining your number. There’s not much you can do to control your genetics, but you can influence your body composition with a few simple changes: Build muscle The best way to increase your BMR is to build muscle. Lean muscle mass torches more calories than fat and pumps up your metabolism. Functional training will help you build muscle more than regular workouts; the latter can be limited in terms of movements. Don’t cut calories Another way to increase your basal metabolic rate is to eat the right amount of calories. That means no semi-starved states and the low BMR that comes with it. Men need to be eating around 2,500 calories and women need to eat 2,000 calories daily, according to the NHS. Munch on BMR-boosting foods such as hot peppers, green tea, broccoli, spices, citrus fruits and cacao. Minimise stress Stress is another huge contributor to a low metabolism. A heightened rush of cortisol (the stress hormone) will send your body into “fight or flight” mode. As a result, less blood will be sent to the digestive system in order to deal with whatever threat the body is responding to.
Training
19. Juni 2018
Rowing machine 101: Benefits, warm-ups & full-body workouts
It’s a cardio staple - the perfect endurance exercise that increases muscle capacity, melts fat and keeps your overall fitness levels afloat. The rowing machine is often overlooked for alternate stints on the treadmill, elliptical and bikes. Tragically overlooked, in our opinion. Because the rowing machine comes with a crazy list of benefits, including burning the most amount of calories in the least time with the lowest perceived rate of exertion. If you’ve been casting aside the rowing machine, it’s no surprise. Firstly, it’s often shoved into the corner without an obvious purpose like an awkward Christmas tree in January, which isn’t entirely motivating. And secondly, you probably don’t know how to use it. But it’s time to rectify that. Here are a few reasons you should be rowing - and exactly how to do it: Benefits of rowing machines Rowing machines provide a thorough full-body workout. In order to complete one full rowing stroke, you need to engage both your lower and upper body. Anyone who has used a rowing machine knows this is guaranteed to get you sweating - no shortcuts possible. You get the most for your minutes. Do it right and a rowing machine can be the perfect cardio for time-short fitness enthusiasts. Rowing places a huge demand on both the aerobic (continuous exercises which improve the body’s utilisation of oxygen) and anaerobic (muscle-targeting exercises in short bursts) system. This means your whole body has to work the entire time, raising your heart rate faster for a quicker, more efficient workout. Multiple muscles get to work. A whopping 80% of your muscle mass within nine major muscle groups are used when you hit the rower. Power comes from your legs as you push forward (known as ‘the catch’), core and arms on the way out, and all three on way back in. Rowing torches calories and sheds fat. The average person weighing 185 pounds (roughly around 13 stone or 83kg) can burn a sizzling 377 calories by rowing for 30 minutes vigorously, according to Harvard University. The numbers speak for themselves. Low-impact and non-weight-bearing. You row sitting down, with movements that are easy on weak joints compared to high-impact activities such as sports that include running and jumping. How to use a rowing machine properly Order, control and execution is extremely important when using a rowing machine, if you want optimum results. Here’s how to perform with perfect rowing form: Starting position Secure your feet onto the pads and tighten the straps so your feet don’t slide around. Bring your knees up, grabbing both handles with an overhand grip and pulling the handle with your as you slide the seat to the top of the machine. Keep your legs straight but with a slight bend - no locking knees. Lean slightly backwards and pull your hands to your chest, so the handle is below your chest. Keep your elbows pointing down against your sides. This is the starting and ending position to complete a full stroke. The catch Bring your arms out first, followed by your upper body. Keep your back straight, not slumped, with your shoulders back and abs engaged as you follow through. Slightly angle your body forward as you extend your arms back out, sliding your body forward on the seat and bending your legs. The drive To slide back, push your feet off first, straightening your legs with your arms extended, body leaning forward. Continue to push through your legs and move your upper body so you lean back. Pull the handles and bend your elbows so the handles touch the front of your chest and into starting position. Rowing machines for warming up Whatever workout you’re doing, rowing is a great warm-up. It gets the blood flowing before something like a run and is a great light-lifting exercise before doing weights. A great way to warm up is to create a rowing playlist of three songs. For the first song, row at a light, easy and steady pace. For the second and third song, stay at the same pace until the chorus, then give it your all until the chorus ends and repeat for every chorus. Guaranteed to pump you up before a workout, every time.
Training
05. April 2018
Four ways natural movement is more challenging than machine repetitions
If you find yourself becoming comfortable in your current gym routine, mixing it up could be the best way to get the most out of your body’s capabilities. Machine repetitions are easy enough, but after a while these can become extremely tedious and you may feel as if you are just doing the same workout each time you go to a gym. But, if you choose to adopt a natural movement-orientated workout, each exercise session will feel different as you challenge yourself against the environment in front of you. Here’s the core reasons why you’ll get more out of natural movement workouts than machine repetitions. The ability to adapt Undertaking the same training routines in the same environments can cause limitations to your capability and injuries, due to overusing the same muscles and mindlessness during a workout. By varying your movement patterns to different spaces and environments, you can give you an added sense of freedom as you exercise, as you’re adapting to the ‘equipment’ (i.e. the trees, walls and structures) in front of you. Forcing yourself to make exercise routines with the environment in front of you is a key aspect of making natural movement workouts more challenging than your standard machine-based gym session. No set days With machine repetitions, you tend to choose a muscle set to work and focus your efforts into strengthening these areas. Pushing yourself through repetition after repetition on the same machine may help build that specific muscle up, but you aren’t giving your body the overall workout that it needs. With natural movements, there isn’t a leg day or an arm day - every day is an all-around body workout. Having to push your entire body through a workout can be testing at first, but the challenge will be something you thrive on as you become more accustomed to natural workouts. Solving unique problems When you’re undertaking natural movement exercises, the challenge should be to solve problems, arguably, only you have faced. Shifting your workouts to make you think more technically will increase the difficulty of your exercises - using the environment in unique and unusual ways that require a longer thought process will in return give you a more challenging workout. Going to regular gym and doing machine based repetition requires no ingenuity from the user, as the problem they face is straightforward and self-explanatory, making it an easy routine to complete. Task orientation The whole reason for going to the gym is to use the machinery to complete a repetition-based workout which will improve your body strength - it’s a specific task you have set out to complete. With natural movement, it’s completely different. Your daily movement patterns need to include actual challenges to ensure you’re getting exercise into your day. Covering various terrain and obstacles as part of your daily routine may seem a simple task, but to really get the most from your natural movements, you need to push your exploration and ingenuity to the limits to align your everyday tasks and exercise. For exercise enthusiasts who want to push themselves, opting for a natural movement-based exercise plan will give you a more rewarding challenge than going to a traditional gym. Not only will repetitions be obsolete, you’re also creating unique and technical problems for your body to solve, which will make your muscles work harder during your always-on workout.
Training
02. April 2018
The art of warming-up in cold weather.
Light warm up workout / barbell +strips + bodyweight / 8 min 4 exercises 2 minutes each exercise Equipment: barbell,, bodyweight Strength 4/10 Power 2/10 Endurance 4/10 Speed 2/10 Agility 4/10 Coordination 6/10 Balance 8/10 Flexibility 7/10 DESCRIPTION EVO training is about simplicity. If you're finding traditional training a little boring, over-complicated and un motivating, you'll love this simple high Intenisty program. No frills, no spills - just low tech, high effect! You will need a barbell, strips to hold the bar and your own weight. Organize your space so you have easy access to this equipment, without having to go too far. This warm-up is performed in 8 minutes. Each exercise will take you 2 minutes to complete. Try to improve your performance each time you come to EVO. Do it with your friends and other members, and don’t forget to post it on social media. For motivation, partner up with a buddy and compete against each other during and after the warm.up. Remember, EVO training is about skill, so focus on good movement technique, whilst moving as fast as possible. ROLL OUT WITH STEP 2 minutes, moving at a moderate speed; With the trapeze bar hanged, grab it on the extremities with your arms extended. The bar must be aligned with your chest. The bar must be at chest height. Take a long step forward and lunge deep, moving the arms straight overhead, torso upright. Return and switch legs. https://vimeo.com/194032368/2e8f1e3c26 HIP EXTENSION 2 minutes, moving at a moderate speed; Stand upright and hold the trapeze bar with arms straight. Engage the core and transfer weight to one leg. Hinge at the hips as you reach forward with the bar. Aim to keep the torso in line with the raised leg. Keep your arms extended, holding the bar and try to go further, extending your shoulders, trunk and leg. Alternate between legs and repeat https://vimeo.com/194317246/216e978ba0 SIDE REACH 2 minutes, moving at a moderate speed; Hang the bar slightly above your hip. Bent your trunk to the bar side leaning your forearm over the bar You’ll feel a slight stretch on the rib cage. After that, return to the initial Position https://vimeo.com/194337534/52d0d91144 HANGING TWIST 2 minutes, moving at a moderate speed; Lie on your back with knees bent. Place the right leg over the left thigh and allow it to hang in the bar. With the left foot, take a small step to the right, so the foot is in line with the right hip. Allow the left leg to slowly rotate to the right and back to the centre. Feel the movement (and stretch) in the left outer hip, but do not over-stretch. Repeat and switch sides. https://vimeo.com/194314622/630b291949
Health
13. September 2017
5 Top Tips for Barefoot Movement
Introduction There's something inherently nice about taking your shoes off and moving around in bare feet. We can move our toes, our posture changes, we move differently - almost with a sense of purpose and play. For most of us, the first 4 years of life were predominantly defined by barefoot movement. We used our hands and feet to explore our environment - a process that literally shaped our movement as older children and adults. When we started school, we started wearing shoes for longer periods of time. The result was a steady decline in our ability to fully sense our environment from the ground up. At the same time, we over-protected our feet with cushioned and/or rigid shoes, further depriving the senses and significantly affecting our ability to move skillfully. To provide more context, there is a growing body of research that suggests that many exercise-related injuries and indeed many other health conditions can be attributed to long term use of inappropriate footwear. This evidence strongly suggests that modern footwear has weakened our feet, and we need to strengthen them (again). Going barefoot There's no doubt that going barefoot is one of the best, and natural ways to strengthen the feet. However, there is a caveat: the vast majority of people will need to transition slowly if they want to enjoy a lifetime of healthy feet. The ugly truth is that if your feet have been imprisoned in padded or inappropriate footwear for many years - it will take time and effort to re-train them for comfortable barefoot movement. EVO environment When we designed EVO, we had natural movement in mind. Our policy clearly states you can train in bare feet. We even created distinct training zones and selected essential equipment that supports barefoot movement. However, we also understand that like any other part of your body, your feet must be physically conditioned and nourished for long term health. With this in mind, here are our top 5 tips for going barefoot in EVO. 5 tips for barefoot movement 1. Walk before you can run If it's your first time training barefoot, you may feel a little conscious, and exposed! This is OK - don't forget, in EVO, it'll feel natural. Start by taking your shoes off at the end of your session when you cool down/stretch. As you feel confident, try walking on the treadmill barefoot. All EVO clubs have a Woodway Treadmill just for this purpose. It's a slatted treadmill that provides comfort and traction for barefoot movement. 2. Get assessed All our clubs have integrated pressure plate technology, which can asses your current foot/ankle health. The results of this give us a clear picture of how functional your feet are, and where to improve strength and mobility. All our personal trainers are qualified to assess your feet using pressure plate analysis. 3. Move your feet Our unique training system incorporates a foot/ankle mobility and strength training program. We call it Toe-ga, or yoga for the toes! A series of toe and ankle exercises will quickly build long-lost strength, mobility and elasticity back into your feet. To learn more, download the EVOmove Workouts App, and select 'Toe-Ga Warm Up' from the workout menu. 4. Try different movements As your feet get used to being bare, start exploring different movements. Try a few jumps, crawl down the sprint track, use TRX, lift weights, throw a slam ball against the wall. Notice how being barefoot affects your ability to move. Notice how it changes your posture. When you have optimal feedback from the ground, you will enjoy optimal movement. 5. Respect your feet Don’t forget to give your feet time to recover. Early in your barefoot journey, you will need adequate rest time. It's normal for the feet to become sore, like any other muscle. If you still want to train, you can wear a padded shoe in between barefoot training sessions. As your feet become stronger, you will enjoy longer periods of barefoot training without discomfort. If you are interested in learning how barefoot movement can improve your movement and reduce risk of injury, please speak to an EVO Personal Trainer - feeling is believing!
Training
06. September 2017
3 Tips How to Get Back to Your Training Routine
But habits take a while to stick. In fact, a study published by a health psychology research team at University College London found that it took more than two months for a new habit to become automatic - 66 days in total. So when we fall out of our exercise loop, it can take a while to get back to the training routine. Fortunately, we’ve got some habit-developing strategies to gather momentum with your workouts again. Give these a go and start surprising people as your body slowly but surely changes shape. 3 TIPS HOW TO GET BACK TO YOUR TRAINING ROUTINE 1. Focus on one goal at a time Kicking off an exercise schedule doesn't have to be complicated - building habits is not an all-or-nothing process. Don’t sign up to five workout classes a week. Don't tell your buddy you’ll meet him or her every morning at 6am for a three mile run and don't promise yourself you’ll cook every meal from scratch. Changing multiple habits at the same time is impossible to maintain. Your mind will be all over the place and you’ll exhaust your willpower. Instead, set the bar low with one small change - like exercising for 30 minutes every day - and stick to it. It’ll soon become routine. 2. Create a habit loop To break a negative cycle and get back into a healthy routine, you must first understand what’s causing it all in the first place. There are the three basic habit components laid out by Charles Duhigg, author of The Power of Habit. He calls it ‘the habit loop’: Routine. This is the behaviour you repeat day-to-day - it can be mental, physical or emotional. Duhigg’s example: eating a cookie from the cafeteria at 3pm everyday. Reward. The satisfying result you get as a result of your routine. Duhigg asked himself what he got from this cookie. Was it the sugar rush? Socialising? Change of scenery? Cue. Whatever it is that triggers your brain to go into habit mode in the first place. In the cookie scenario - was it hunger? Boredom? Low blood sugar? In Duhigg’s case, he discovered what he really needed was a bit of interaction to break up the work day - not the cookie. Instead of going to the cafeteria, he’d chat with colleagues whenever his cue (boredom) kicked in and lost weight as a result. Find out what negative routines you’ve made into habits and replace them with positive ones. In Duhigg’s words: “Once you diagnose the cue, the routine and reward - you gain power over it”. 3. Find the right motivator What works for one person might not work for you. If that blast of sparkling, feel-good endorphins aren’t enough to get you back to the training routine, try technology. Fitness apps provide a visual record of your victories, giving you an instant reward that you may not see in the mirror straight away. The motivating features of apps such as Runkeeper are designed to help you stick to a training routine - it’ll even send the reminders to get out and run so you don’t break the chain. The data-driven side of workout gizmos are great, but these apps also have another behaviour-forming trick - social competitiveness. When you share a workout, your friends can see it and give you a supportive well done, even if it’s just in the form of a ‘like’. That reward Duhigg was talking about? There are few more powerful than that.

Lifestyle
23. August 2017
Own The Urban Jungle: 4 Top City Running Apps
If you’re on a weekend break, running can be a speedy way to explore the mazes of any metropolis and stick to your fitness regime at the same time. Cities are also those wonderful places that play host to a number of exciting races, so if you’re aiming to compete in a marathon or triathlon - there’s no place like the streets to train.With a blur of taxi cabs, traffic lights and pedestrians to navigate round, city running comes with its own set of challenges. But there are ways to get around them. Stop-and-go obstacles such as crossroads and roundabouts can be taken advantage of by doing squats and lunges while you wait. Cars, bicycles and other traffic can be made safer to navigate by leaving the headphones at home - it’s important to be aware of your surroundings when crossing busy intersections.For everything else - there are running apps. We’ve come a long way from stopwatches and pedometers. Now, there’s all kinds of tech to help you reap the rewards of jogging the urban jungle and make city runs that little bit easier. Here are our favourite city running apps:4 Top City Running Apps1. RunGoGet to know fresh corners of your home city or fully immerse yourself in a metropolis you’ve never been. RunGo gives you on-the-go directions, through both audio cues and visual navigation in real time. It’s a travel lovers best friend; the first ‘virtual running partner’ that uses GPS to tell you which way to turn, with options to explore new terrain whenever you wish. Forget map-memorising and hit the streets in confidence.2. SalomonBringing the beauty of trail running to urban destinations, Salomon connects runners of all levels with routes that break up routines and help you to discover new locations in your city. There’s safety in numbers, so you can enjoy the sense of community urban running. This running app is perfect to sign up for ‘community runs’ - simply pick your city of choice and pound new grounds with like-minded locals.3. RunKeeperIt’s simply got to be on the list. RunKeeper is a free mini motivator that combines GPS and community for the perfect running all-rounder. Set goals, track workouts in real time, follow personalised routines, join challenges and see your progress with this popular app. A whopping 50 million runners have it downloaded, so add your friends and share achievements with them. You can even compare workouts and see how your urban runs stack up against each other - let the competition commence.4. GlympseSometimes, no one knows which alleys and avenues you’re sprinting through - and in urban environments, you never know what or who you’ll run into. Whether you’re an early bird on empty streets or prefer a late-night, long-distance affair, Glympse keeps runners safe through its location-sharing features. Simply pick a friend or family member, set up the duration of your city run and hit send - your recipient doesn’t need the app to receive your notification and can easily track your run. Image sources and Credits:Image Credit RunGo (EVO_imgs_text_01.jpg): https://www.rungoapp.com/Image Credit Salomon (EVO_imgs_text_02.jpg): http://running.salomon.com/en/community-runs/Image Credit RunKeeper (EVO_imgs_text_03.jpg): https://runkeeper.com/Image Credit Glympse (EVO_imgs_text_04.jpg): http://www.glympse.com/

Training
04. August 2017
Top 5 Exercises To Improve Power And Reaction For Volleyball
Introduction Beach volleyball is a team sport where two teams of two players play against each other – in bare feet - on a sand court. Volleyball requires a good level of fitness to play. If you play recreationally or would like to start, there are several skills you can master to improve your game. Mastery of movement skills If you have never watched volleyball, it requires mastery of many of the body’s natural movements. Players need to be able to react at speed and explosively from the ground. The squatting, lunging, pushing, bending, rotation and locomotion (on an unstable surface) involved, all require skill to perform without getting injured during play. These can be learned following the EVO7 training philosophy. In addition, other positive outcomes of practicing these skills as part of your training will see improved co-ordination, balance, speed, strength, agility and power. Power=Performance Power production is important for volleyball. Why? Because power (a combination of speed and strength) is required for quick changes in direction, varieties of jumping and pushing actions. Three types of power are a pre-requisite for volleyball. 1. Take off power to project the body vertically to either serve, block or pass 2. Reactive power to generate force to jump immediately after landing, and to change direction quickly whilst in play 3. Power endurance to maintain a high output of power over a long period of time, as the repetition of some movements (serving, passing and jumping) will be performed hundreds of times in one game Top 5 power exercises for volleyball Here are our top 5 exercises that will ensure improved performance not just in playing volleyball, but in many other areas of everyday life. You can also view these exercises and many more in the Exercise Library section of the EVO app. 1. SQUAT JUMP Start the movement by bending at the hips and dropping into a half squat position, taking the arms backwards. Rapidly drive the arms forwards and upwards as you explosively jump up. Land under control with knees bent enough to absorb the force. Repeat for time or reps. 2. MED BALL PUSH SLAM Facing the wall, engage the core as you explosively slam the med ball at chest height to the wall. For greater explosiveness, perform a half squat and jump out as you slam the med ball. Repeat for time or reps. 3. SIDE LUNGE Breathe in as you lunge to the left/right, moving your hips back and dropping into a squat position. Hold position and balance before breathing out and explosively returning to the start. Keep back straight, head in line with spine and core engaged. Repeat for time or reps, switch sides. 4. MED BALL TWIST AND REACH Hold medicine ball at chest height. Breathe out, rotate hip left/right and pivot on the opposite foot as you rotate and drive the ball diagonally overhead. Breathe in returning to the start position. Keep core and glutes engaged. Repeat for time or reps, switch sides. 5. SUSPENDED LUNGE WITH HOP Start in a lunge position with arms out straight, and back foot resting on the trapeze bar. Maintaining balance and good alignment, take the arms back and drive them forwards, hopping on the front foot. Return under control, and repeat for time or reps, switch sides. Adrian Deverell Personal Trainer, EVO Berggasse
Training
15. Mai 2017
Tutorial: Butt Kicks
WHAT Butt Kicks are a great functional exercise that can be used as part of a warm up, cool down or active recovery between sets. More than just a pulse raiser, they will also benefit your running technique. HOW Run on the spot and pull the heel to the butt. Aim to keep the hamstrings as relaxed as possible to maximize efficiency. Maintain a quick tempo (180bpm) using a metronome for guidance, if necessary. WHY When performed correctly with rhythm (180bpm) the butt kicks exercise will quickly build running-specific hamstring pull technique. Proper rhythm will allow for optimum elasticity in the foot/ankle. View other tutorials: TRX chest press Roll out with step Deep squat The barbell clean Pull up Kinesis lunge to chest press
Lifestyle
04. Mai 2017
Our Feet: The Ideal Training Shoes?
There's a reason why the sole of the foot has 250,000 nerve endings. Nature evolved it to be a movement sensor. Up to the age of 4 yrs, this sensory apparatus allowed us to be highly competent movers. Think about it for a moment - as babies and young children, the feet are highly sensitive structures whose sole (pun intended!) purpose was to feel the environment. Back then, our feet were strong, mobile and elastic. The perfect training shoes. FORGETTING THE FEET Then most of us began the lifelong journey of sedentary living and poor footwear, causing us to disconnect from our feet, movement and environment. The moment we start school, this disconnect begins. We wear shoes that are sold to us as ‘protective’, causing the feet, ankles and toes to move less, and ultimately weaken. Yet as young children, our feet had all the technology we needed for optimal health and function. FOUNDATION OF MOVEMENT Movement begins from the ground up - our feet are the only body parts in contact with the ground for most of the day. Yet how many of us look after our feet in the same way as the rest of the body? We spend hours each week training our bodies in the quest for fitness, health and aesthetics. We wear clothing that allows our body to move and breathe, yet our feet remain locked up in rigid cages, slowly becoming weaker, inelastic and immobile. FOOTING THE BILL Years of abuse means we are literally paying the price on our feet. The growing prevalence of foot pain and dysfunction due to dysfunctional feet is unacceptable. But the consequent movement impairment is just as alarming. When the toes become weak (specifically the big toe) we lose the natural ability to balance and move across a stable base – as a result, the ankle may stiffen up to maintain stability and balance. When the sole of the foot stiffens (through rigid shoes and lack of use) we lose the natural flexibility that allows the foot to rock efficiently during locomotion. The result is compensatory movement further up the body. THE REMEDY: HEALTHY FEET AND PROPER TRAINING SHOES We have a plantar plate in every EVO club, because we know that good movement starts with good feet - ask any 4yr old. The plantar plate is a powerful tool for assessing foot and ankle strength, mobility and elasticity - the three attributes of a natural foot. When these are present, the foot serves as a highly effective platform for force transfer in almost every movement. In a nutshell, this means lower economy of effort and lower risk of injury. A healthy foot has all the technology it needs for efficient movement and lifelong health. If you would like to know how healthy your feet are right now, speak to one of our Personal Trainers and book an assessment with them. In addition to assessing your current foot and ankle strength and mobility, they will also show you specific exercises – called Toe-ga – designed to improve strength and mobility, and combat the effects of poor footwear. And if you’re serious about lifelong foot health and optimal movement, then our Personal Trainers will also provide guidance on selecting the best training shoes and lifestyle. If you have any thoughts and opinions around foot health, please share them with us via Facebook and Instagram.
Training
03. März 2017
Workout of the Month: 8 Jumping Exercises
Jump training, also known as plyometric training, is an effective way to build explosive power, stability and coordination. Not only does this type of jumping training improve sports performance (e.g. running, basketball, tennis, free running, skiing, to name a few), it is also beneficial for general fitness – building stronger legs, adding intensity to workouts, and burning more calories. Because jumping is a skill, it's important to learn the basic technique of jumping and landing, before adding intensity and volume. If you are new to this type of training, speak to an EVO Personal trainer before trying the following workout. This circuit-style workout consists of 8 exercises performed back to back – but don't be fooled by its simplicity! Although each exercise involves a jumping movement, you will feel the whole body engaging. EQUIPMENT AND SET UP Interval timer or stopwatch (set the work:rest intervals as outlined below) Plyo box Pull up bar – if you cannot perform a pull up, use a step for assistance 8 JUMPING EXERCISES Perform each of the following exercises in order, choosing one of the following levels that suits your ability and current fitness: EASY – 1 round, moderate pace, 20s work:20s rest MODERATE – 2 rounds, moderate pace, 20s work:20s rest HARD – 3 rounds, fast pace, 20s work:10s rest JUMPING LUNGE Keep the arms overhead and aim for quick jumps. Don't drop too deep. JUMPING JACKS Take the arms as high as possible and find the rhythm. BURPEE Drop quickly to the floor and explode out off the push up into a jump. BOX JUMP Throw the arms up as you jump onto the box, landing with two feet. Step back down and repeat. JUMP PULL UP Jump up to the bar and quickly perform a pull up. LATERAL JUMPS Keeping feet together, jump quickly from left to right. Use the arms for balance. INVERTED JUMPS From a push up position, jump the legs side to side aiming to lift the hips over the shoulders. BUTT KICKER Run on the spot bringing each heel to the butt. TIPS This workout requires just a small amount of space, so is ideal when your favourite machines are in use Feel free to change the order or even substitute with some of your favourite jump-based exercises Partner up with a buddy and compete against each other for rep Don't forget to share your workout performance with us via Facebook and Instagram!

Health
18. Dezember 2016
5 Ways How To Naturally Increase Your Energy Levels
1. Get plenty of sleep Sleep is probably the most important energy booster. For good quality sleep, reduce your exposure to unnatural light (eg. phones, laptops, computers, TV) after 7pm – the high levels of (blue) light can suppress melatonin, the sleep hormone. Don't forget that sleep deprivation is accumulative and may take several days to weeks to re-balance. If you're still feeling with low energy levels during the day, take a 30 minute siesta mid-afternoon. 2. Early morning exercise Early morning exercise is a great way to fire up your metabolism and boost your energy levels for the rest of the day. Be sure to perform light to moderate intensity exercise, with a focus on mobility and whole body movements. Activities like brisk walking, yoga or even light circuit training will enhance circulation, oxygen uptake, and nutrient delivery for the rest of the day. 3. Manage stress While acute stress can increase metabolism (through adrenaline and cortisol release), chronic stress can cause a drop in metabolism and energy levels. If you have stress in your daily lifestyle, look for common signs, including insomnia, fatigue, cold hands/feet, poor recovery, weight gain – and explore ways to manage your stress. Daily meditation, lunchtime walks, and breathing techniques are some of the ways you can immediately reduce stress and boost energy levels. 4. Eat regularly Probably the most obvious yet least adhered way to increase energy levels is to eat regularly during the day. Adequate consumption of carbohydrates will prevent energy drops. Learn to identify when your metabolism is running low, and be sure to eat. Indicators of a low metabolism include cold hands and feet, loss of concentration and general feelings of lethargy – listen out for the signs and eat accordingly. 5. Pimp your coffee While excess caffeine consumption should be avoided, treat yourself to a mid-morning (single shot) coffee as an extra metabolic stimulant. For slow-releasing energy, add coconut oil, cream, and honey to sweeten. Be sure to avoid caffeine after midday.
Training
12. Dezember 2016
How To Avoid Muscle Cramps During Exercise
What is a muscle cramp? A muscle cramp is a sudden, involuntary and sustained contraction of one or more muscles. There is often a visible and palpable hardening of the muscles. Muscle cramps may last for a few seconds to several minutes, and can recur many times before subsiding. Why does cramping occur? Cramping occurs when the mechanisms that control muscle contraction and relaxation become impaired. For efficient muscle function, there are 3 key physiological requirements that need to be met: optimal cellular environment, well-conditioned muscles, and sufficient recovery. What are the best strategies to reduce the risk of cramping? Firstly, maintaining an optimal cellular environment is the most important strategy, and is dependent on balanced levels of water, glucose and electrolytes inside the cells. When glucose and electrolytes become too low, the cells dump water to rebalance the environment. When too much water is drunk, the cells also dump excess water, along with important electrolytes. This electrolyte and glucose imbalance can result in muscle cramps. The best strategy is to reduce/avoid tea, coffee, dietary drinks (especially before exercise), and consume a purpose designed sports drink, such as Gatorade – which will provide optimal amounts of water, glucose and electrolytes. Secondly, cramp is less likely to occur in muscles that are well-conditioned and supple. When you work out, ensure that you are working through a full range of motion where possible, and be sure to spend time on flexibility at the beginning and end of your workout. For best results, combine foam rolling and dynamic stretching – to boost your circulation and reduce the risk of cramping. The final strategy is to ensure you make time for recovery post-exercise. Muscles need adequate rest between workouts, and during these times, hormones such as adrenaline and cortisol can re-balance. Proper rest and recovery will ensure that your cellular environment remains optimised for the next workout. What is EVO’s position on avoiding muscle cramps? At EVO, our focus is on creating better understanding of the body for optimal physiological and physical health. Strategies to minimize the risk of muscle cramps should begin with a focus on attaining optimal cellular health through adequate consumption of a balanced sports drink before, during and after exercise. Pre- and post-workout strategies should also include proper flexibility training, particularly the use of foam rollers. Finally, optimal rest between bouts of exercise will ensure longer-term avoidance of muscle cramps.